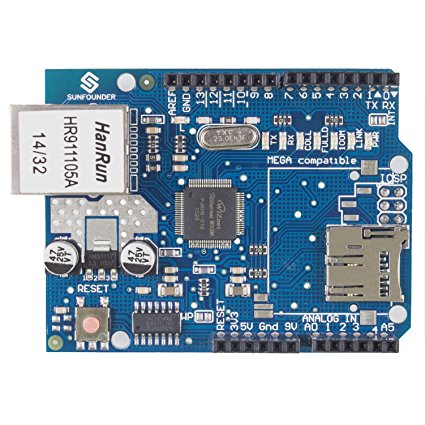
Arduino Ethernet Shield
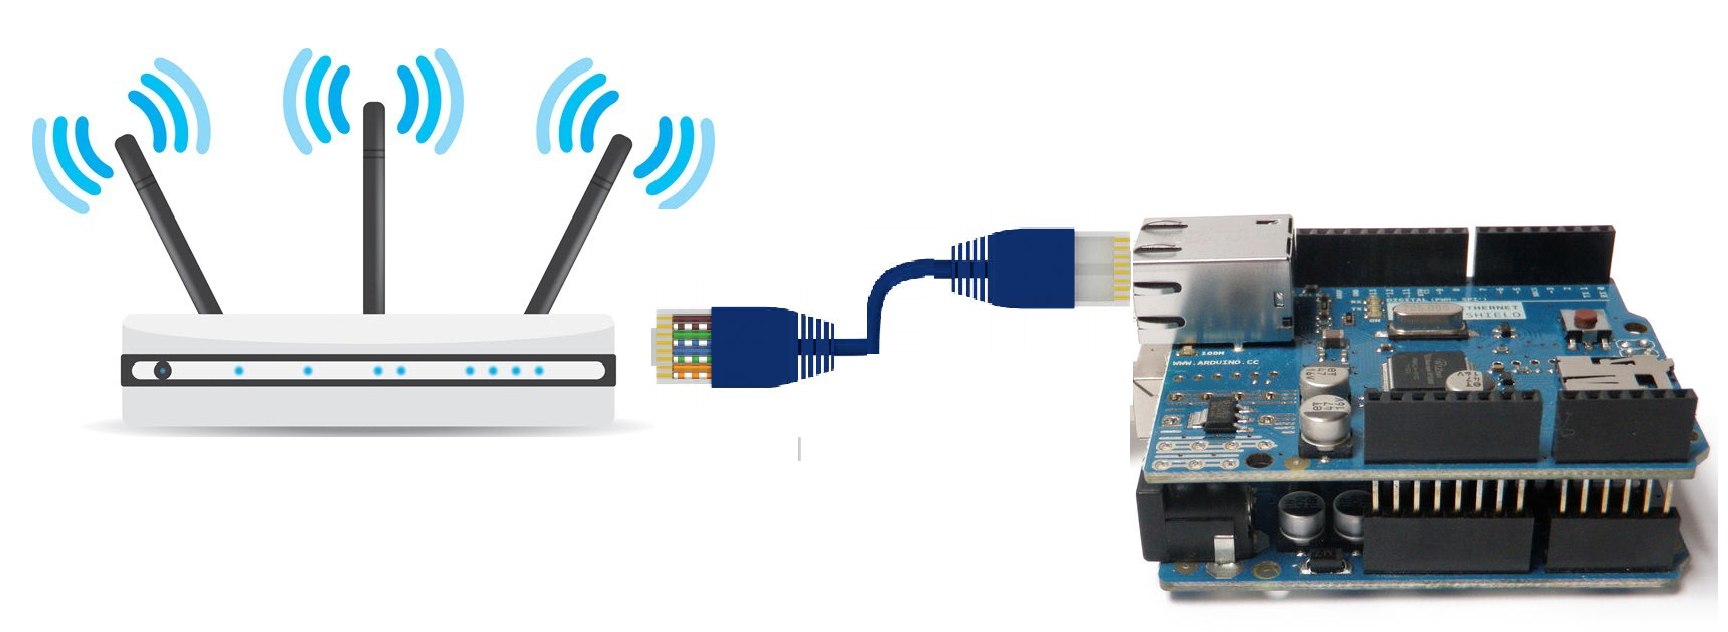
Arduino Ethernet shield is an external board which can be mounted on arduino female headers and this Ethernet shield can now bring arduino over network. Arduino with Ethernet shield can talk/communicate with the devices/peripherals present not only on a home or office network but can go further over internet.
Arduino communicates with the Ethernet shield on SPI protocol. Arduino SPI pins 10, 11, 12 and 13 make connection and talks with the arduino Ethernet shield. Many arduino Ethernet libraries are present on internet which can be utilized to work with arduino and Ethernet shield. Arduino Ethernet Libraries are a great path to start with. Libraries contain arduino Ethernet board initialization and startup functions. We only need to write our main code rest of initialization and controlling part is done by the library(Thanks to arduino open source community).
Arduino Ethernet shield Web controlled Fan
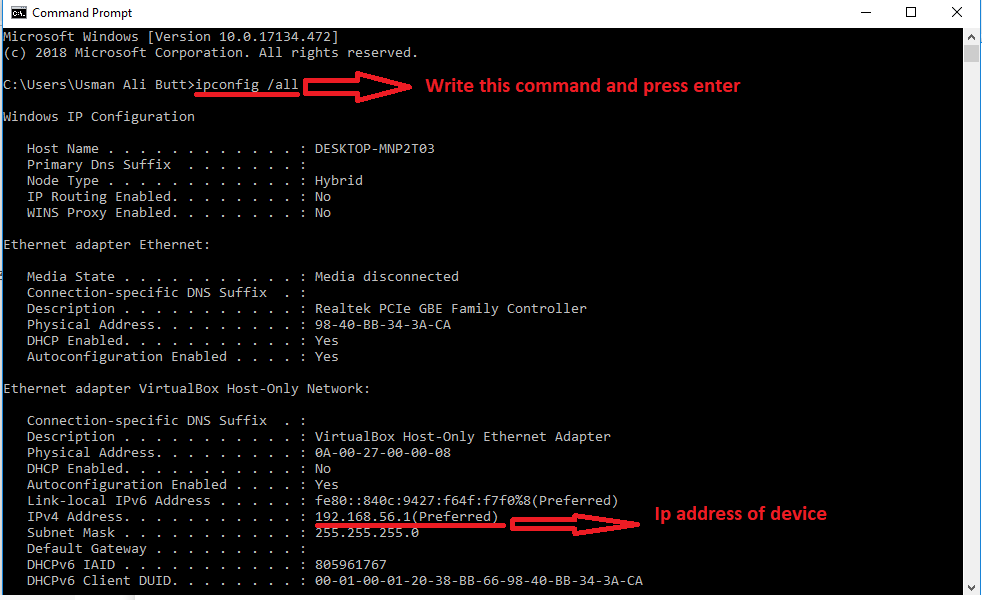
Every device on a network is identified by an IP and mac address. So if we want our arduino to connect with our home network we must first identify what IP our router is assigning to clients. The best and easiest way is to open from your computer and laptop Command Prompt. You can find cmd by pressing windows button on keyboard and then in search type cmd. Open cmd and enter ipconfig /all command. This command will display the IP that router assigned to your system. See the below picture.
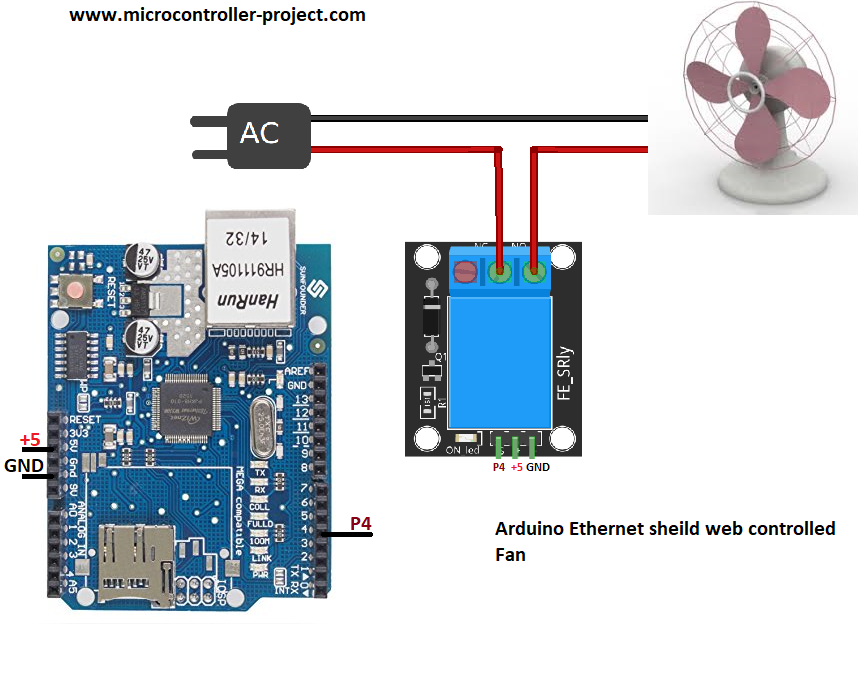
Arduino Web control switch using arduino Ethernet shield – Circuit diagram
Arduino Ethernet shield web controlled fan – Project code
#include <SPI.h>
#include <Ethernet.h>
After libraries i defined the arduino pin to which i am going to connect the fan. Pin#4 of arduino is used to control the fan.
int fan = 4;
So now our fan controlling arduino gpio is also defined. Now we need to assign MAC and IP to our arduino board or arduino Ethernet shield. Mac is an address which is assigned to every physical device by the manufacturer and user also has control to change the mac address. To arduino Ethernet shield we also need to assign a mac address. Mac address is 48-bit wide. On every private network each device must have a unique and different IP address. I also assigned a mac address to my arduino Ethernet shield. Since i am in my home network to which only 3 to 4 devices are connected normally so i can put mac address which i hope is not conflicting. You can also use the mac which i use when implementing the same project by your self. After mac its time for the real address which is IP address. In the previous picture we identified the IP series our router is assigning to clients which are connected to it. Arduino also needs to request the router for an IP assignment. But we have a small advantage here we can request the router to assign the arduino IP which we need. Like we now our router is working on 192.168.56.x. We can request router to assign us the IP 192.168.56.100. Almost all the time router accepts this request and assign the IP which is requested if this IP is available. In the arduino code i included the below instructions for mac and IP assignment.
byte mac[] = { 0xDE, 0xAD, 0xBE, 0x3F, 0xFE, 0xED };
byte ip[] = { 192.168.56.100 };
I selected .100 because its too far from 1 which is the first client so 100 clients in a home network is not normal.
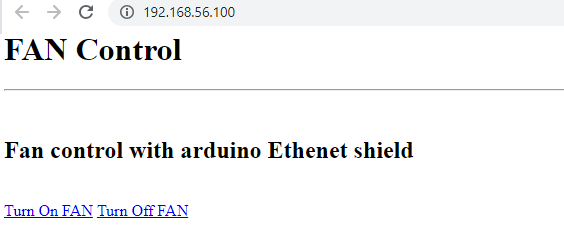
We want our arduino Ethernet shield to control the fan connected to its pin and we want to control it using a web browser. In web browser we want to load a page which contains the fan control button. Pressing the button generates an event at arduino and arduino switches the fan On or Off. This web page is served by the arduino Ethernet shield and we have to write its code. But before writing code we need to tell the router that our Ethernet shield will serve web pages or technically we need to tell the router that our Ethernet shield will work as a server and it will serve pages to clients. This is done by starting a server with the simple instruction/code statement below.
EthernetServer server(80);
In the setup() function i initialized the serial monitor at 9600 bps. Serial monitor is initialized only for debugging purposes you can comment or delete it if you want. Arduino fan controlling GPIO is made an output pin. Ethernet shield is passed the IP and mac address also the server is started in setup() function.
Ethernet.begin(mac, ip, gateway, subnet);
server.begin();
To check the IP address assigned by the router the instruction Serial.println(Ethernet.localIP()); is included in the code. Its sure that the above 192.168.56.100 will be assigned but its better to check if any error occurred during assignment.
In the loop function arduino server is checking if any client requested web page. The statement EthernetClient client = server.available(); is checking if any request arrived. If so it serves the web page.
Important: Both the client(your device through which you are accessing arduino fan server) and arduino server must be connected to same network in order for successful shake hand and communication. If any one of them is not present on the same network communication between them is not possible. Web page will not load in your browser.
What happens when you press the toggle link or button in web page? Well the statements in arduino code which defines the link button are
client.println(“<a href=\”/?button1on\”\”>Turn On FAN</a>”);
client.println(“<a href=\”/?button1off\”\”>Turn Off FAN</a><br />”);
Now when you press the link/button web page tries to load the link present in the above HTML statements. In simple words client makes an another request to load the page. At server side when server receives request it decodes it and save the data present in request and instead of offering new page to client it loads the same web page again.
Data present in the link which server decoded is ?button1on and ?button1off.
Next statements which toggles the state of fan are if statements.
if (readString.indexOf(“?button1on”) >0){
digitalWrite(fan, HIGH);
}
if (readString.indexOf(“?button1off”) >0){
digitalWrite(fan, LOW);
}
Filed Under: Arduino, Microcontroller Projects

Questions related to this article?
👉Ask and discuss on EDAboard.com and Electro-Tech-Online.com forums.
Tell Us What You Think!!
You must be logged in to post a comment.