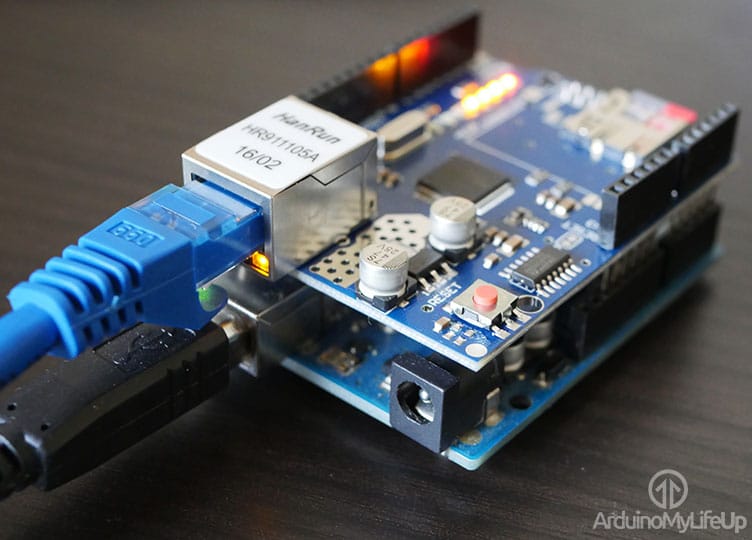
This intermediate tutorial of arduinomylifeup defines an upfront process to develop your own Arduino web server. The steps covering this procedure involves the dynamics of getting it up and running. Further, this tutorial also aims to cover some core concepts such as using ajax for updating rather than refreshing the page over and over.

Basic Arduino Web Server (Image Courtesy: ArduinoMyLifeUp)
In order to understand this tutorial and fully execute it, it is crucial to learn some basic HTML concepts, which is exceptionally simple to grasp. For newbies, it is recommended to go through w3schools for a basic introduction, to gather some basic notions about HTML.
The goal of this detailed server is not to come up with some fancy doable things but make it incredibly beneficial for anybody who wishes to demonstrate data from devices linked to the pins or would like to cooperate with a circuit from a webpage. Further, all the code examples can be located over at my Github and can be easily downloaded.
The equipment used for this Arduino web server tutorial are Arduino Uno, Ethernet shield or similar, Ethernet cord, Micro SD Card (Optional). Please note that the SD card will need to be formatted in either FAT16 or FAT32. As far as coding is concerned, you will come across an advanced level of coding. Depending upon your interest and knowledge, you can read the basics being vividly explained or can skip the section and go down to setting the web server up with or without a SD card.
Filed Under: Reviews


Questions related to this article?
👉Ask and discuss on Electro-Tech-Online.com and EDAboard.com forums.
Tell Us What You Think!!
You must be logged in to post a comment.