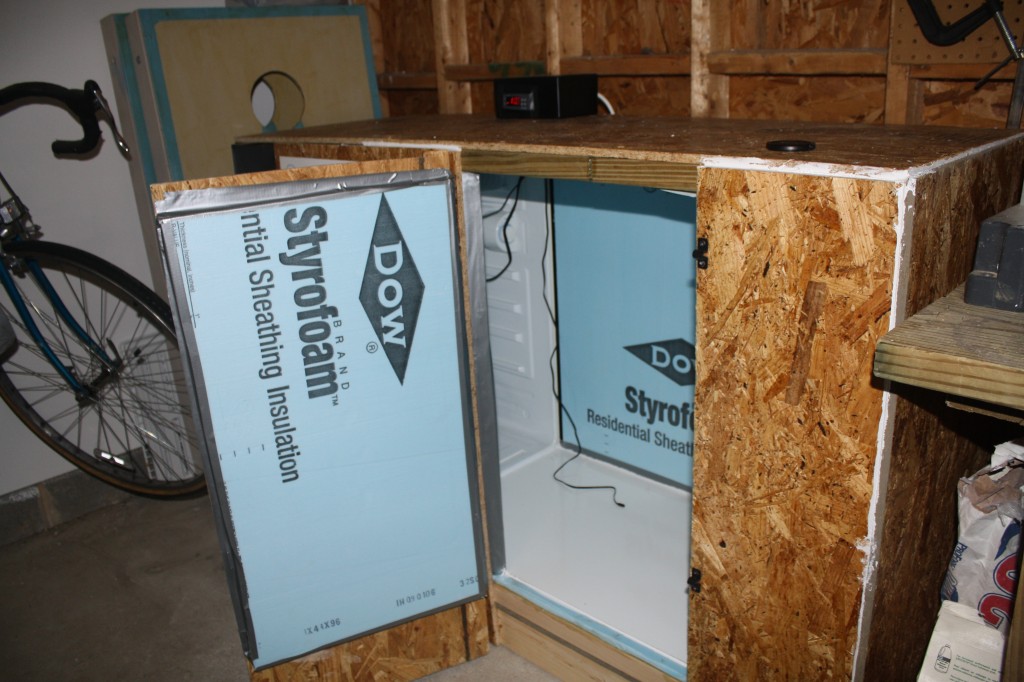
After experimenting with various ways of fermentation temperature control, Chris Creech decided to build a fermentation chamber on his own. Being a professional homebrewer, he had already worked on various projects related to brewing and hence this one was also on his mind. However, instead of modifying a chest freezer and connecting it with a thermostat, he wanted to build it with minimum possible cost. As a result, he decided to proceed with the project by making use of a mini fridge.

Figure 1: Fermentation Chamber
As the fridge was small in size, he took apart its doors and extended it by constructing a large insulated box. Moreover, for the temperature controller, he simply applied his know-how about electronics and built one. After building both of these components, he combined them to form a DIY fermentation chamber at a fraction of the cost of the market-based device. For the controller, he acquired STC-1000 controller, wall outlet, project box, extension cord, and small cable clamp connector. Besides, he gathered a mini fridge, computer fan, power source for the fan, heat source, hinges, latches, furring strips and some foam sheets for making the chamber.
He kicked off the project by building a base for the chamber that matched the width of the mini fridge and carried a length which was enough to hold the required number of buckets. He also added a cross beam in the middle for some additional support. When the base got finished, he fitted a piece of OSB and tested the fridge on top of it. Next, he added the furring strips across the base for providing support followed by 2 layers of foam sheathing in a way that it fits snuggly all over.
When the base was ready, he continued building the back, front, end and top walls. He built a door on the front wall which was insulated separately so that it could be swung open and shut. After this, he made sure that all the sides were taped and sealed properly.
To configure the wall outlet, he broke the metal tape on each side of the outlet so as to power them separately. Then he cut a hole in the project box and attached the outlet with it. After that, he cut a hole where the controller had to be placed and then continued with the wiring on the basis of a diagram that could be found at its back. When the wires were connected in the desired manner, he clamped them in cords and secured everything in the box.
The final product has two outlets, one to plug the heat source and another for the mini fridge. As far as the computer fan is concerned, it can be plugged into the wall and wired to the phone charger. Once it is done, the seams where wires enter the fridge could be sealed so that nothing looks clumsy or out of place. This finishes off the construction of a DIY fermentation chamber at an extremely low cost.
Filed Under: Reviews


Questions related to this article?
👉Ask and discuss on EDAboard.com and Electro-Tech-Online.com forums.
Tell Us What You Think!!
You must be logged in to post a comment.