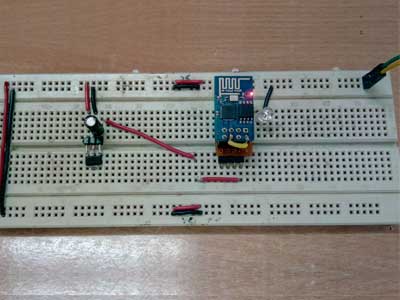

Circuit Connections –

1) LED – An LED is interfaced to the GPIO pin of the ESP8266 module. This LED will be switched On and Off using the web page.

The ESP-01 model is used in the project. The ESP-01 model has the following pin configuration –

Fig. 5: Table listing pin configuration of ESP8266 ESP-01 Wi-Fi Modem

Fig. 6: Table listing pin configuration of FTDI USB to Serial Converter
The Ground terminal of the FTDI converter is connected to the common ground while the TXD and RXD terminals are connected to the RX and TX pins of the ESP8266 module. The FTDI adapter is used to program the ESP module using Arduino IDE.


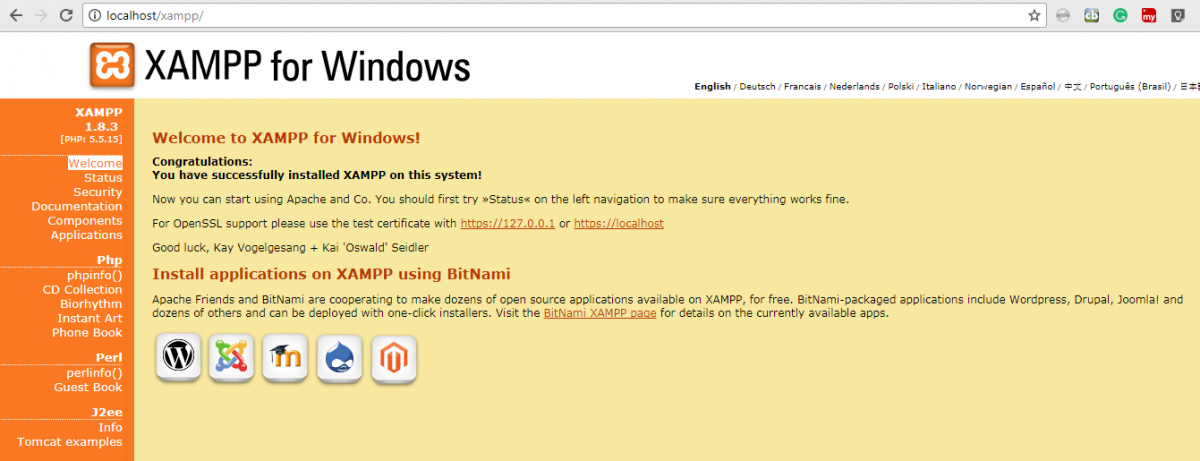
In order to make sure that Apache is running, open a web browser and type local host in the address bar. The following control panel must appear on accessing the localhost.

Fig. 9: Screenshot of XAMPP Control Panel UI on Windows Chrome
XAMPP Control Panel UI

As seen, the webpage simply contains two buttons – one to switch on the LED and other to switch off the LED. There is also a label at the bottom of the webpage which shows the current status of the LED.


Project Source Code
//Program to

#include <ESP8266WiFi.h>

#include <ArduinoJson.h>


const char* ssid     = "***********";  //Your wifi name

const char* password = "************"; //your password


const char* host     = "192.168.110.19"; // Your domain

String path          = "/webserver_led/light.json";

const int pin        = 2;


void setup() {

  pinMode(pin, OUTPUT);

  pinMode(pin, HIGH);

  Serial.begin(115200);


  delay(10);

  Serial.print("Connecting to ");

  Serial.println(ssid);


  WiFi.begin(ssid, password);

  int wifi_ctr = 0;

  while (WiFi.status() != WL_CONNECTED) {

    delay(500);

    Serial.print(".");

  }


  Serial.println("WiFi connected");

  Serial.println("IP address: " + WiFi.localIP());

}


void loop() {

  Serial.print("connecting to ");

  Serial.println(host);

  WiFiClient client;

  const int httpPort = 80;

  if (!client.connect(host, httpPort)) {

    Serial.println("connection failed");

    return;

  }


  client.print(String("GET ") + path + " HTTP/1.1rn" +

               "Host: " + host + "rn" +

               "Connection: keep-alivernrn");


  delay(500); // wait for server to respond


  // read response

  String section="header";

  while(client.available()){

    String line = client.readStringUntil('r');

    // Serial.print(line);

    // we’ll parse the HTML body here

    if (section=="header") { // headers..

      Serial.print(".");

      if (line=="n") { // skips the empty space at the beginning

        section="json";

      }

    }

    else if (section=="json") {  // print the good stuff

      section="ignore";

      String result = line.substring(1);


      // Parse JSON

      int size = result.length() + 1;

      char json[size];

      result.toCharArray(json, size);

      StaticJsonBuffer<400> jsonBuffer;

      JsonObject& json_parsed = jsonBuffer.parseObject(json);

      if (!json_parsed.success())

      {

        Serial.println("parseObject() failed");

        return;

      }


      // Make the decision to turn off or on the LED

      if (strcmp(json_parsed["light"], "on") == 0) {

        digitalWrite(pin, HIGH);

        Serial.println("LED ON");

      }

      else {

        digitalWrite(pin, LOW);

        Serial.println("led off");

      }

    }

  }

  Serial.print("closing connection. ");
Project Video
Filed Under: Electronic Projects, IoT
Filed Under: Electronic Projects, IoT


Questions related to this article?
👉Ask and discuss on EDAboard.com and Electro-Tech-Online.com forums.
Tell Us What You Think!!
You must be logged in to post a comment.