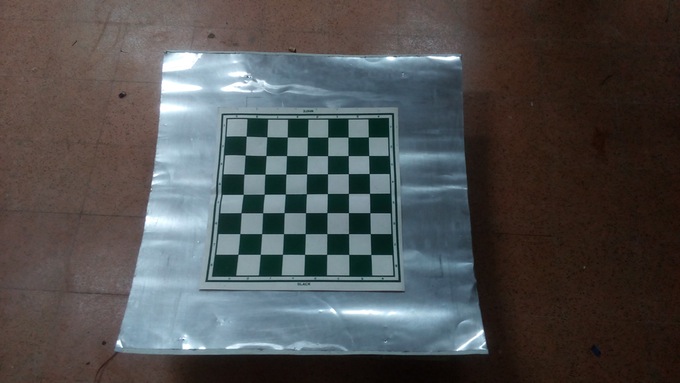
Figure 1: DIY Chess board
The project is about creating a worthy chess opponent with the xy plotter that has been created for this game especially. The idea was to create a worthy opponent who can play against you in real time. The maker didn’t want to lose the fun of playing this game even when no one was around. The pieces move on their own with the help of magnets placed underneath the board. The electromagnet used for this purpose moves here and there with the help of XY table. It identifies the other player’s moves with image processing and then find the counter move with chess engine. The final movement is made with the help of Raspberry Pi and Arduino that take care of the stepper and servo motors responsible for correct movement.

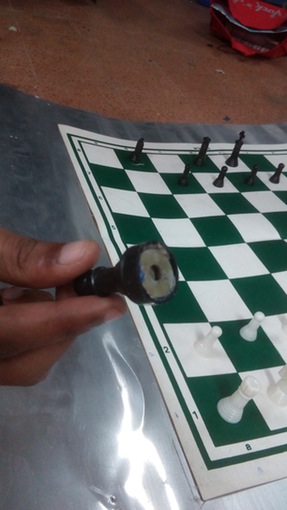
Figure 2: Metal chess coins
The most important component here is the x-y plotter that comes with special two axis control and a specific mechanism for lowering and raising the magnet stand. The plotter is blessed with a hole in its base segment where the magnet passes through. Every single axis gets powered with a single belt and stepper motor. The magnet stand control can be attained with a servo. Complete electronics of this module is controlled with the help of Raspberry Pi and Arduino that are powered by a 12 volt wall adapter. Upon assembling the complete arrangement, the fnal picture looks more like a square that has a center cut out for movements. You can attach all the four sides with each other with screws but ensure the bolts slide simply through the basic pieces and further tension is achieved through tightening of bolts over the nuts that need to be wedged loosely in each strut.
The motors in this project need to meet specific requirements that include zero limitation in terms of moving around, high precision, and enough power. It is for this reason, stepper motors were chosen that met all the requirements in the most perfect manner. You ill have to test the motors in order to use them in your application. The two motors used here have in total 6 wires, you have the freedom to either wire these partially or completely into the circuit.
The pulley type will be decided by the kind of timing belt you use for this purpose. The basic requirement for these belts is sufficient length. Here in the picture below you can see the pulleys and belts doing their job in a perfect manner beneath the chess board’s surface. The rod that will help in the movement of servo motor is the one that will be clamped with the magnet and will be moved to the required position. It will stick with the coin and will lead to movement of coin to a specific position.
Now comes the Alexa and image processing part. You can watch that through this video.
For code and schematics:
Filed Under: Reviews


Questions related to this article?
👉Ask and discuss on EDAboard.com and Electro-Tech-Online.com forums.
Tell Us What You Think!!
You must be logged in to post a comment.