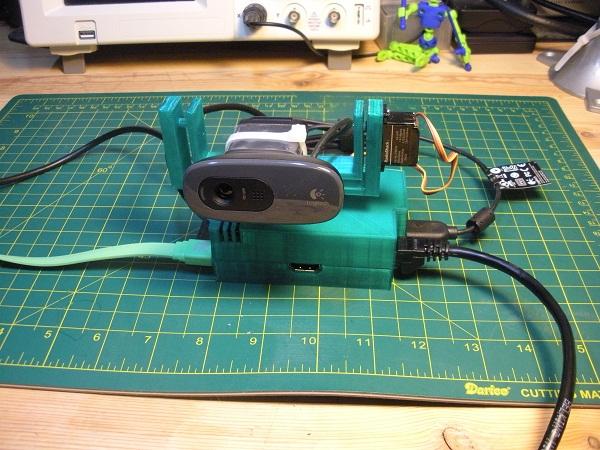
How easy it is to use the webcam!! Plug it in, install its software and done. The wait for vacations to see your near and dear ones has been reduced to nil by this fist sized device. Wouldn’t a webcam be more fun and useful if you can control the Webcam movement without being in the same room? The possibilities of webcam based applications then become infinite. From being actively involved in a party to quality surveillance system, the webcam, once remotely movable gets highly multipurpose. To make your webcam reach this level of use, you need to attach it to a base loaded with a servo and controlled by the open source mini-computer, “Raspberry Pi”.
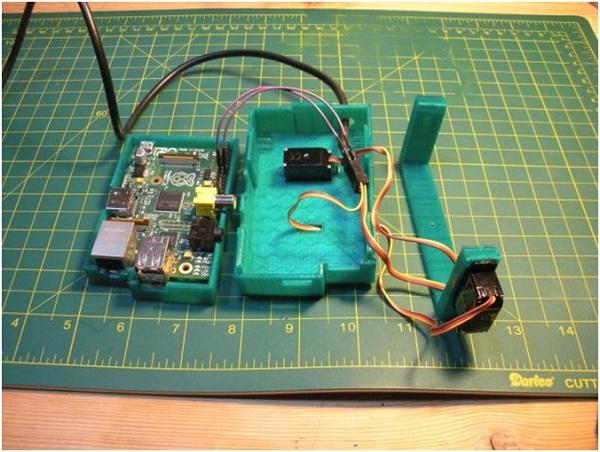
This DIY uses Raspbian one of the several operating systems that run on Raspberry Pi and moderate to advanced level of electronic expertise such as soldering and assembling. What makes this DIY more advanced is the fact it itself is an application of 3D printing. Yes, the chassis used to cover Pi and mount the servo and webcam are custom designed using a 3D printer. However, they are so simple that one would not face much of a trouble in getting them from the local market.
Even though it is described as a project for hobbyists, the finishing of the project is certainly top class. The codes are well tested for the Pi and usage of 3D printed chassis make it an industry standard project. Hobbyist, however, have to take care of the fact that whether the webcam they are using is compatible with the Raspberry Pi or not. There are options for adding a Wi-Fi connection to the Pi which adds more to the portability factor when added with a battery powered source. Other extensions to the hack depend on the creativity of the DIY enthusiast, where can you take it?
Filed Under: Reviews

Questions related to this article?
👉Ask and discuss on EDAboard.com and Electro-Tech-Online.com forums.
Tell Us What You Think!!
You must be logged in to post a comment.