UART with NRF24LE1
In this modern world we all are aware about USB. We all connect our Pen drives, memory card and other devices using USB. But have you ever thought what is it? Here is the answer; USB is a communication protocol by which two devices communicate with each other. In the same way, microcontroller also communicates with other devices like sensors or PC by using different communication protocols like USB, UART, and I2C.
Today our focus will be on using UART communication for NRF24LE1.

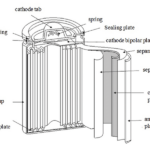
Fig. 1: Overview of Serial Communication with NRF24LE1 Module
UART stands for Universal Asynchronous Receiver/Transmitter. It is a type of serial communication that uses two wires, one for transmission (Tx) and one for reception (Rx). It makes use of start and stop bits in the packet to indicate the start and end of the packet. We also have an option to use parity bit inside data to indicate error in the transmitted data. Before using UART we have to declare the transmission and reception speed known as baud rate. The most common baud rate is 9600 bps (bits per second).

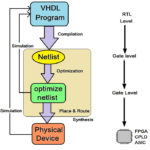
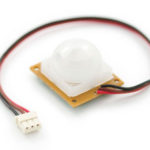
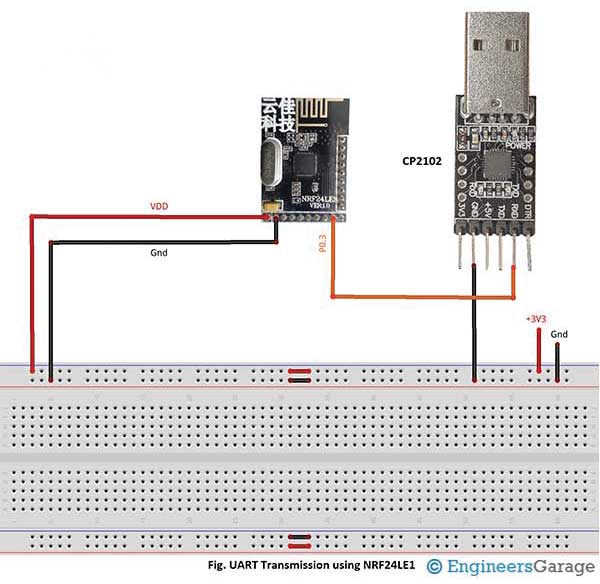
Fig. 2: Image showing components used in serial communication with NRF24LE1 Module
The NRF module offers variety of baud rate starting from 600 bps up to 38400 bps. The NRF pin P0.3 is Tx and pin P0.4 is Rx.
For more features you can refer to the datasheet. Also, you may refer to our previous articles on UART with PC and NRF24LE1 for more help.
We will be using nrfsdk (software development kit) provided by Nordic Semiconductors Ltd. The communication will be established between NRF and PC by sending “Hello” to the PC.
Functions which are helpful for using UART are:
· hal_uart_init() – This function takes baud rate to be used.
· hal_uart_tx_complete() – Checks for the completion of transmission.
· Hal_uart_putchar() – This function takes character for transmission.
· hal_uart_chars_available() – Checks if a character has been received or not.
· hal_uart_getchar() – It returns received character.
The description of the various functions is:
| FUNCTION | INPUT PARAMETER | OUTPUT |
DESCRIPTION
|
|---|---|---|---|
| hal_uart_init() |
UART_BAUD_600 UART_BAUD_1K2 UART_BAUD_2K4 UART_BAUD_4K8 UART_BAUD_9K6 UART_BAUD_19K2 UART_BAUD_38K4 UART_BAUD_57K6 UART_BAUD_115K2 |
– |
To initialize the UART communication by selecting the baud rate |
| hal_uart_putchar() | 8-bit character | – | To transmit 8-bit character |
| hal_uart_tx_complete() | – | 0/1 |
To check status of transmission 0: Transmitting 1:Transmitted |
| hal_uart_char_available() | – | 8-bit number | To get the number of characters received |
| hal_uart_getchar() | – | 8-bit character | To read the 8-bit character received |
Please check the commented code for complete implementation of these functions so as to get a clear understanding.

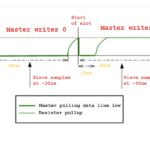
Fig. 3: Image showing received message on virtual terminal on PC from NRF24LE1 Module
You may also like:


Project Source Code
###
//Program to#include"reg24le1.h" // I/O header file for NRF24LE1
#include"hal_uart.h" // library containing serial communication functions#include"hal_delay.h" // header file containing delay functions// Repeated putchar to print a stringvoid putstring(char *s){while(*s != 0)hal_uart_putchar(*s++);}// main functionvoid main(){P0DIR = 0xf0; // set P03 as output and P04 as input;// Initializes the UARThal_uart_init(UART_BAUD_9K6);// Enable global interruptsEA = 1;//infinite loopwhile(1){// Print "Hello Everyone"putstring("rnHello Everyone!!rn") ;delay_ms(1000); // delay of 1sec}}###
Circuit Diagrams
Project Video
Filed Under: Tutorials
Filed Under: Tutorials

Questions related to this article?
👉Ask and discuss on Electro-Tech-Online.com and EDAboard.com forums.
Tell Us What You Think!!
You must be logged in to post a comment.