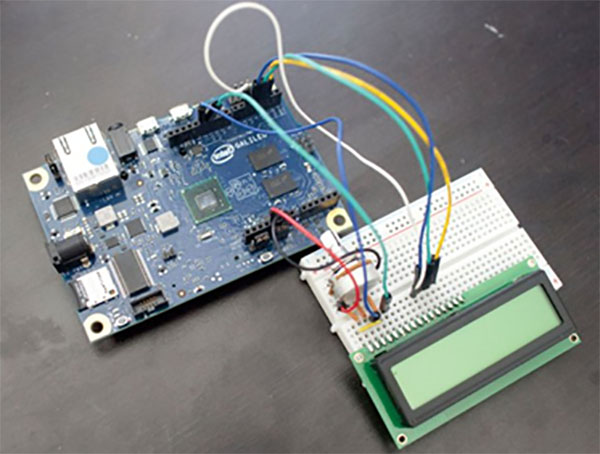
Matt Richardson is author of Getting Started with Intel Galileo. He has picked up one of his own projects and made an interesting DIY out of it for MakeZine. The project is basic and serves mainly to learn about Galileo and how it can multi-task with arduino. So if you want to get your hands dirty, this can be your first project?
The DIY uses the obvious Arduino hardware. Besides that there is the Galileo board has a full-sized Mini-PCI Express slot, 100Mb Ethernet port, MicroSD slot, RS-232 serial port, USB Host port, USB Client port, and 8MByte NOR flash memory. Richardson provides the Python code for the project in at Github. Since there are so many ways to read and write files, Richardson only uses the Linux command to write the data to a file and then having the Arduino sketch read that file to gather data into the sketch – which is a very typical Galileo feature.

Well, once the codes are uploaded, connect the LCD, connect the potentiometer on the breadboard, and you are done! Galileo based Countdown Timer is a very cheap and doable DIY, which has its scope for enhancements once you get the hang of it.
Filed Under: Reviews


Questions related to this article?
👉Ask and discuss on EDAboard.com and Electro-Tech-Online.com forums.
Tell Us What You Think!!
You must be logged in to post a comment.