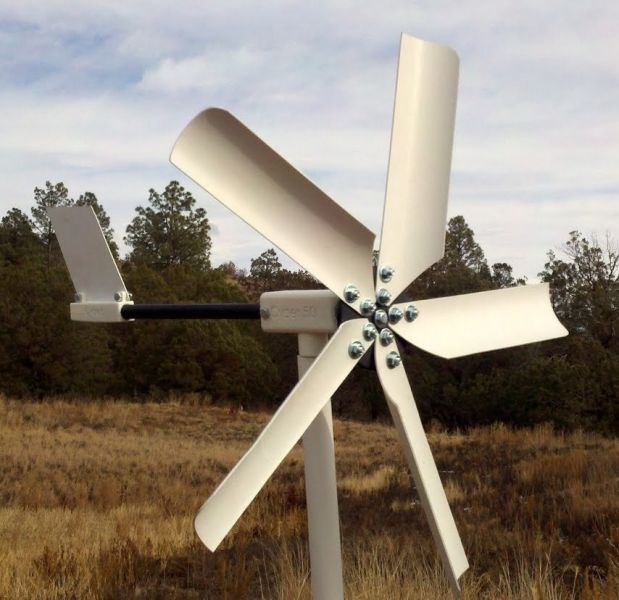
Being a student in the field of sustainable energy technology, Simon took part in a course introduced by an NGO named Nea Guinea. As a part of this course, 5 participants along with the instructor worked together to build a wind turbine within 9 days. The objective of this project was to promote the knowledge of craftsmanship and engage in production processes so as to attain a higher level of self sufficiency.

Figure 1: Small wind turbine
Some of the main components utilized in the project include a rotor, an alternator, tail and a mechanic frame for connecting all the parts together. In this project, each part had its own significance in the functioning of the turbine. The rotor was prepared with a diameter of 2.4 meters which implies that each blade was 1.2 meters long.
The alternator encompassed a pair of magnet disks rotating alongside the blades and stator containing the assembly of coils. It had a power rating of 700 W but the output varied as per the speed of the wind. It’s important to note that the magnet disks as well as the assembly of coils had to be casted in vinyl ester to prevent corrosion. The tail vane played a crucial role of turning the rotor into the direction of wind to capture maximum power.
The procedure started with cutting the wooden planks and carving them into blades with a twisted shape in a way that the width changes along the length so as to capture more force of the wind. Simultaneously, the team also started building the device which was meant to wind the coils. For this, they created a template and assembled it on a wooden block, which was then fixed to a vice. By turning the template, they wound the coils in the desired form.
The next step was to create the moulds, which held the magnetic disks and coil assembly into an encapsulating form of vinyl ester that dried up and hardened in few hours. Similarly, another template was created to place the magnets on the metal disks in a way that each of them carried 12 magnets placed 30 degrees apart from each other.
Next, the metal rods were grinded and welded together to form the major mechanical parts of the turbine. Then they assembled the magnetic disks and soldered the coils together. After this, they casted the stator with the help of earlier created moulds and some resin along with a catalyst and talcum powder to dry it up quickly. The turbine was prepared by assembling all the pieces together namely the rotor, alternator and the tail. In order to keep the wind turbine perpendicular to the wind and turn the turbine out of the wind (in case of very strong winds) they decided to shape the tail vane in the form of a banana.
After connecting all the parts, they lifted a tower mounted with the turbine on top of it. Then they connected all the cables and electrical components to measure the power output. Their DIY wind turbine was able to generate an average of 500 watts.
Filed Under: Reviews


Questions related to this article?
👉Ask and discuss on EDAboard.com and Electro-Tech-Online.com forums.
Tell Us What You Think!!
You must be logged in to post a comment.