We currently live in the era of speed and sophistication. Everything that man once developed and found to be too time consuming and cumbersome has been modified, altered and compacted to make its use more simple. To cope up with this speed, every routine work has been automated. This pursuit of professional excellence has forced people to spend less time on themselves. For example, shaving is almost a daily chore for men to ensure personal hygene and needs to be done fast. But doing so with manual razors is a time consuming job and if done to hastily, can lead to cuts and burns.
Insight – How Electric Beard Trimmer Works
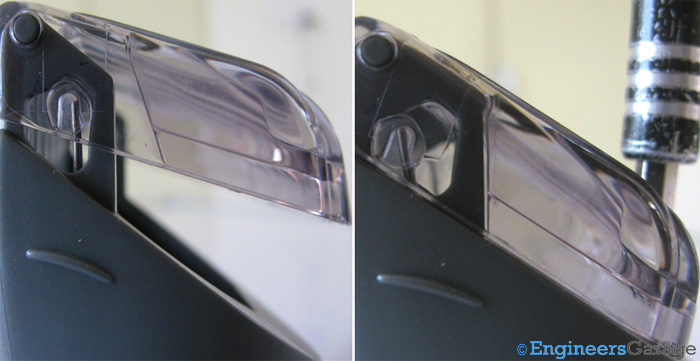
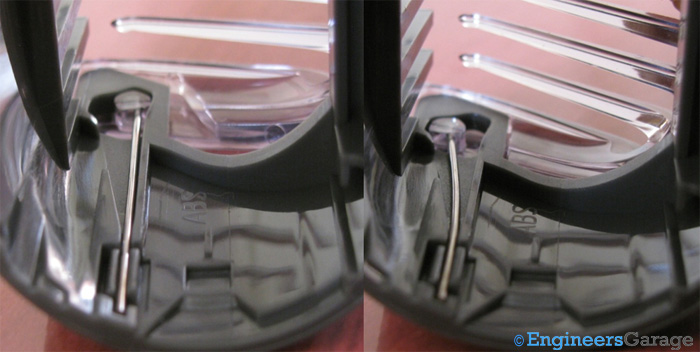
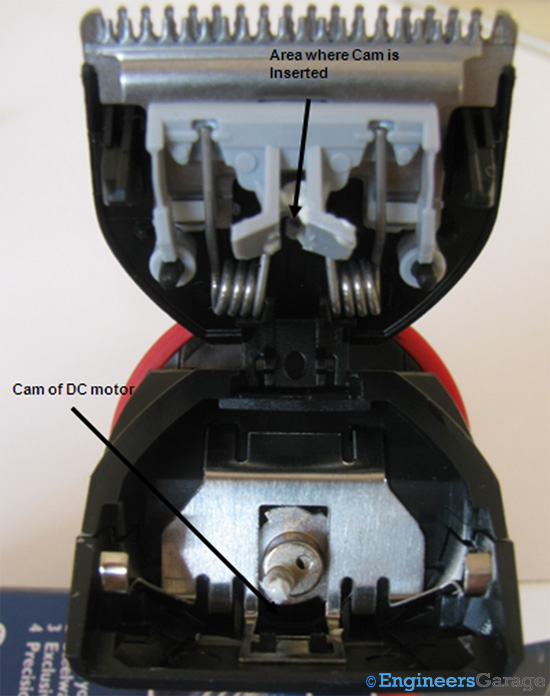
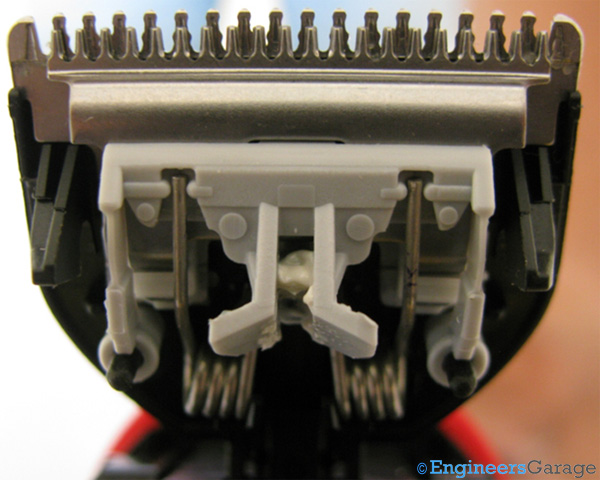
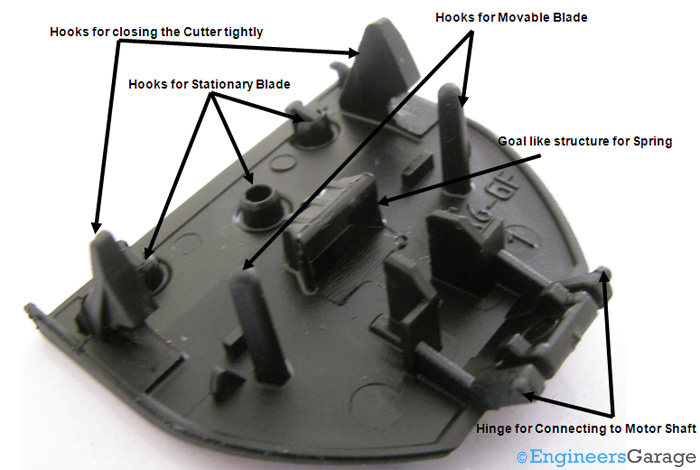
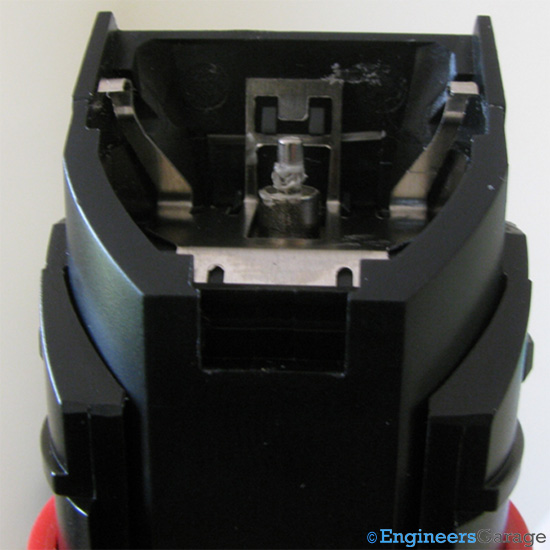
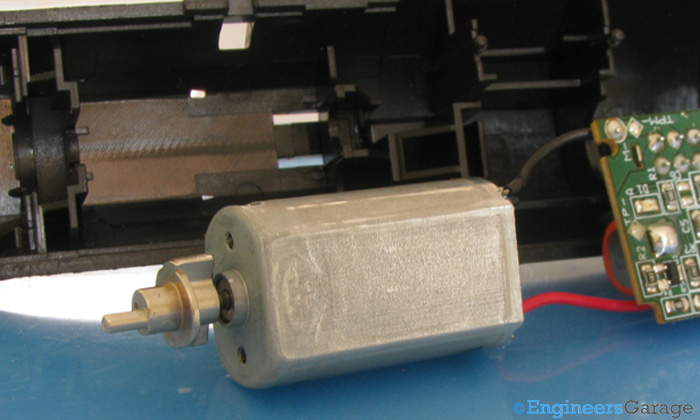
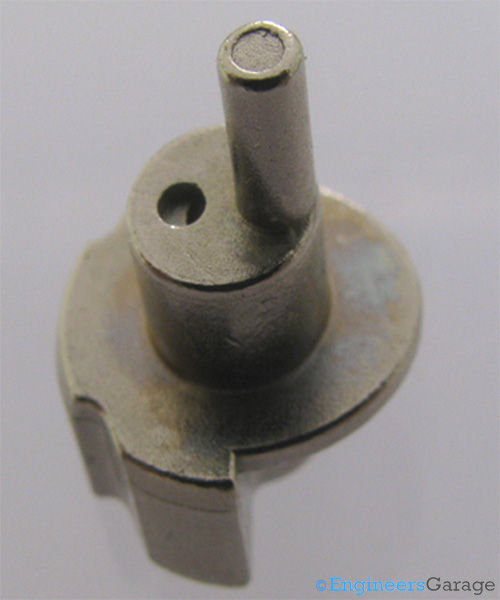
Shown in the image above is the part of the shaft of the DC Motor that projects out to move the cutter assembly. This structure is hinged to the cutter assembly from the lower part and has leaf spring shaped flexible hooks that enable secure closing of the cutter assembly and the shaft head.
2.Charging Port
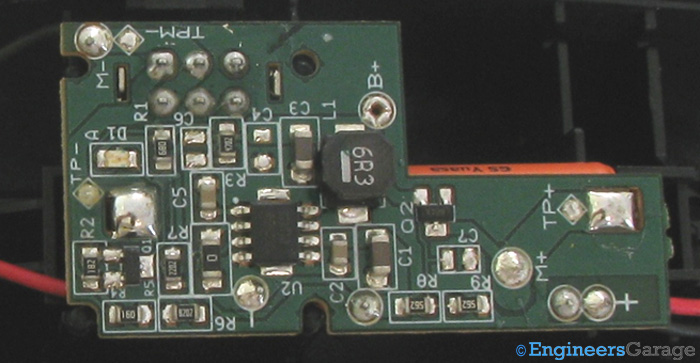
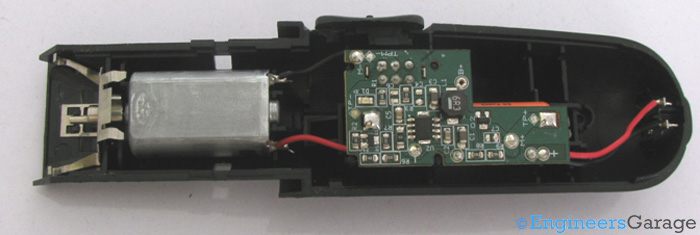
On the PCB is the only electrical part of the trimmer and its function is to provide regulated power supply to the motor. It also contains circuitry to charge the battery for cordless operation. From the front side, it has surface mounted ICs and various other components while the back side has a battery and a slider switch. An LED is also provided on the front part to indicate that the trimmer is in charging mode. The IC used is a ST 3S01 IC which is designed to quickly charge batteries.
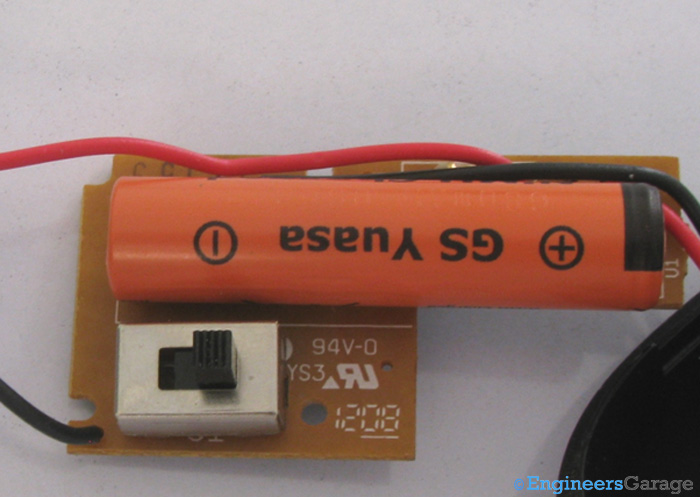
The reverse side of the PCB consists of a NiMH battery and a slider switch. It takes the NiMH battery approximately 10 hours to get fully charged so that one can use it continuously for 35minutes. 35 minutes is more than enough for any trimming process and even though it might seem less as compared to the charging time but given the RPM of the DC motor to be in the range of 6000-8000, it is quite satisfactory. When the batteries die out, the motor receives no power and blades, even though being sharp enough, cannot trim the beard for they have no driving force,
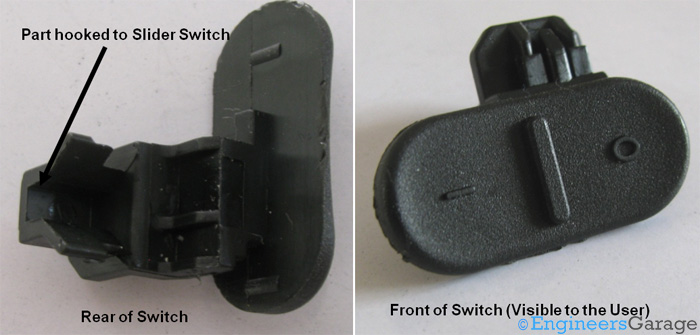
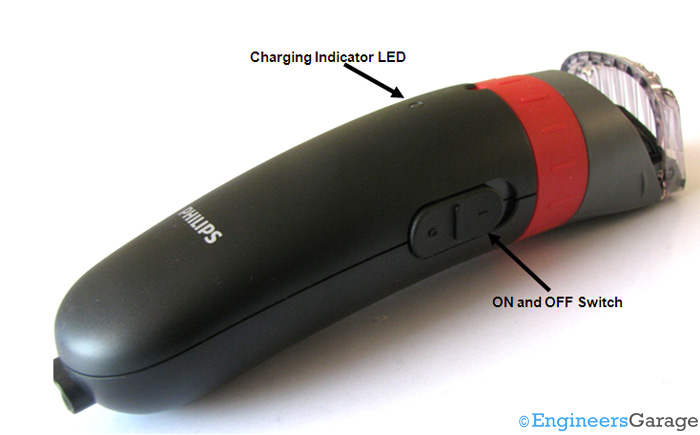
The slider switch is connected to the ON-OFF switch of the motor through a hook as shown in the image above. This facilitates easy switching of the trimmer between ON and OFF states.
[header= Internal Circuitry Contd…]
Charging Port
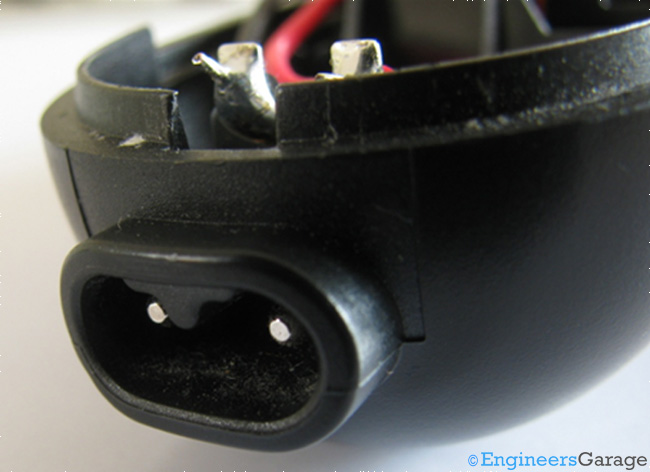
Usually, charging pin is located right at the bottom or sides of the charger. This makes sure that the trimmer can be used easily even when the charger is plugged in. The charging pin pattern of the charger might vary from manufacturer to manufacturer.
Filed Under: Insight


Questions related to this article?
👉Ask and discuss on EDAboard.com and Electro-Tech-Online.com forums.
Tell Us What You Think!!
You must be logged in to post a comment.