Step 1: Choose any active alternating current socket.
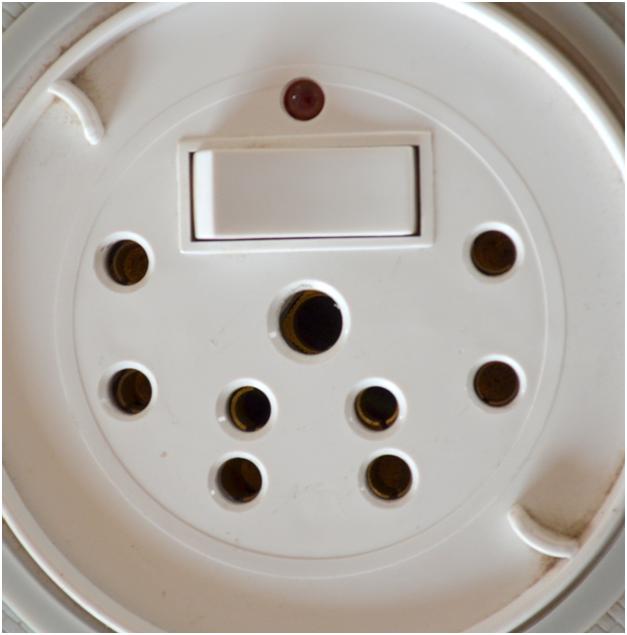
Fig. 1: Image of an AC socket
Note: Make sure that the socket is not turned ON.
Step 2: Turn the multimeter knob to the ACV or AC Voltage section:

Fig. 2: Image of ACV Section of Multimeter
To ensure safe operation make sure that the knob is pointing to 400V before connecting the probe to the plug.
Also make sure that the red probe is connected to the ‘V’ and the black probe to the COM as shown in the image given below:
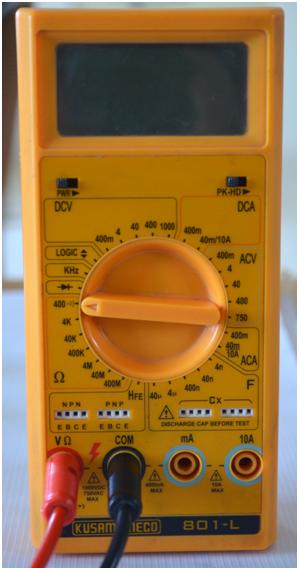
Fig. 3: Image Showing Probes Connected to Multimeter
Step 3:Insert the testing probes into the socket.
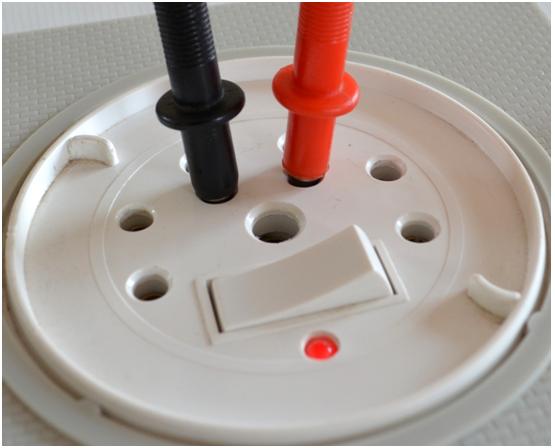
Fig. 4: Image showing Probes Inserted in AC Socket
Polarity is not an issue in AC.
Step 4: TURN ON THE POWER SUPPLY.
Step 5 :Power ON the Multimeter.
Step 6: Turn ON the AC supply.

Fig. 5: Image showing Probes Inserted in AC Socket
The multimeter will display the AC voltage which is in the specified range of 220-240V, indicating the AC supply to be working normally.
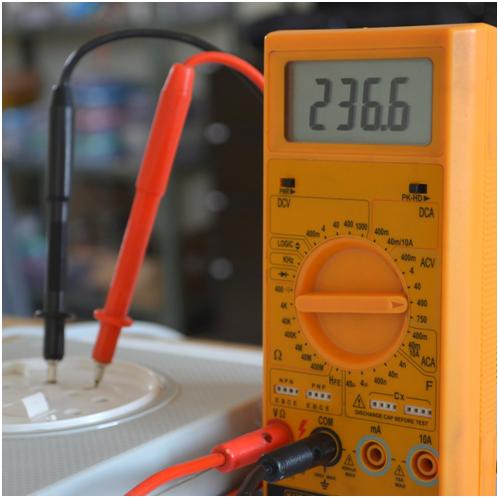
Fig. 6: Image showing AC voltage Reading by Multimeter
Filed Under: Tutorials


Questions related to this article?
👉Ask and discuss on Electro-Tech-Online.com and EDAboard.com forums.
Tell Us What You Think!!
You must be logged in to post a comment.