This is a very nice and interesting robotic project. As the name suggests, “object follower robot” – the robot is meant for following an object. You might have heard of…
- A smart luggage trolley at railway station/bus station/Airport that automatically moves on battery and motor and it follows the owner
- A smart cart at any departmental store or supermarket that follows the customer who has taken it
- A smart luggage bag that is paired with the owner’s smartphone and it automatically follows the owner
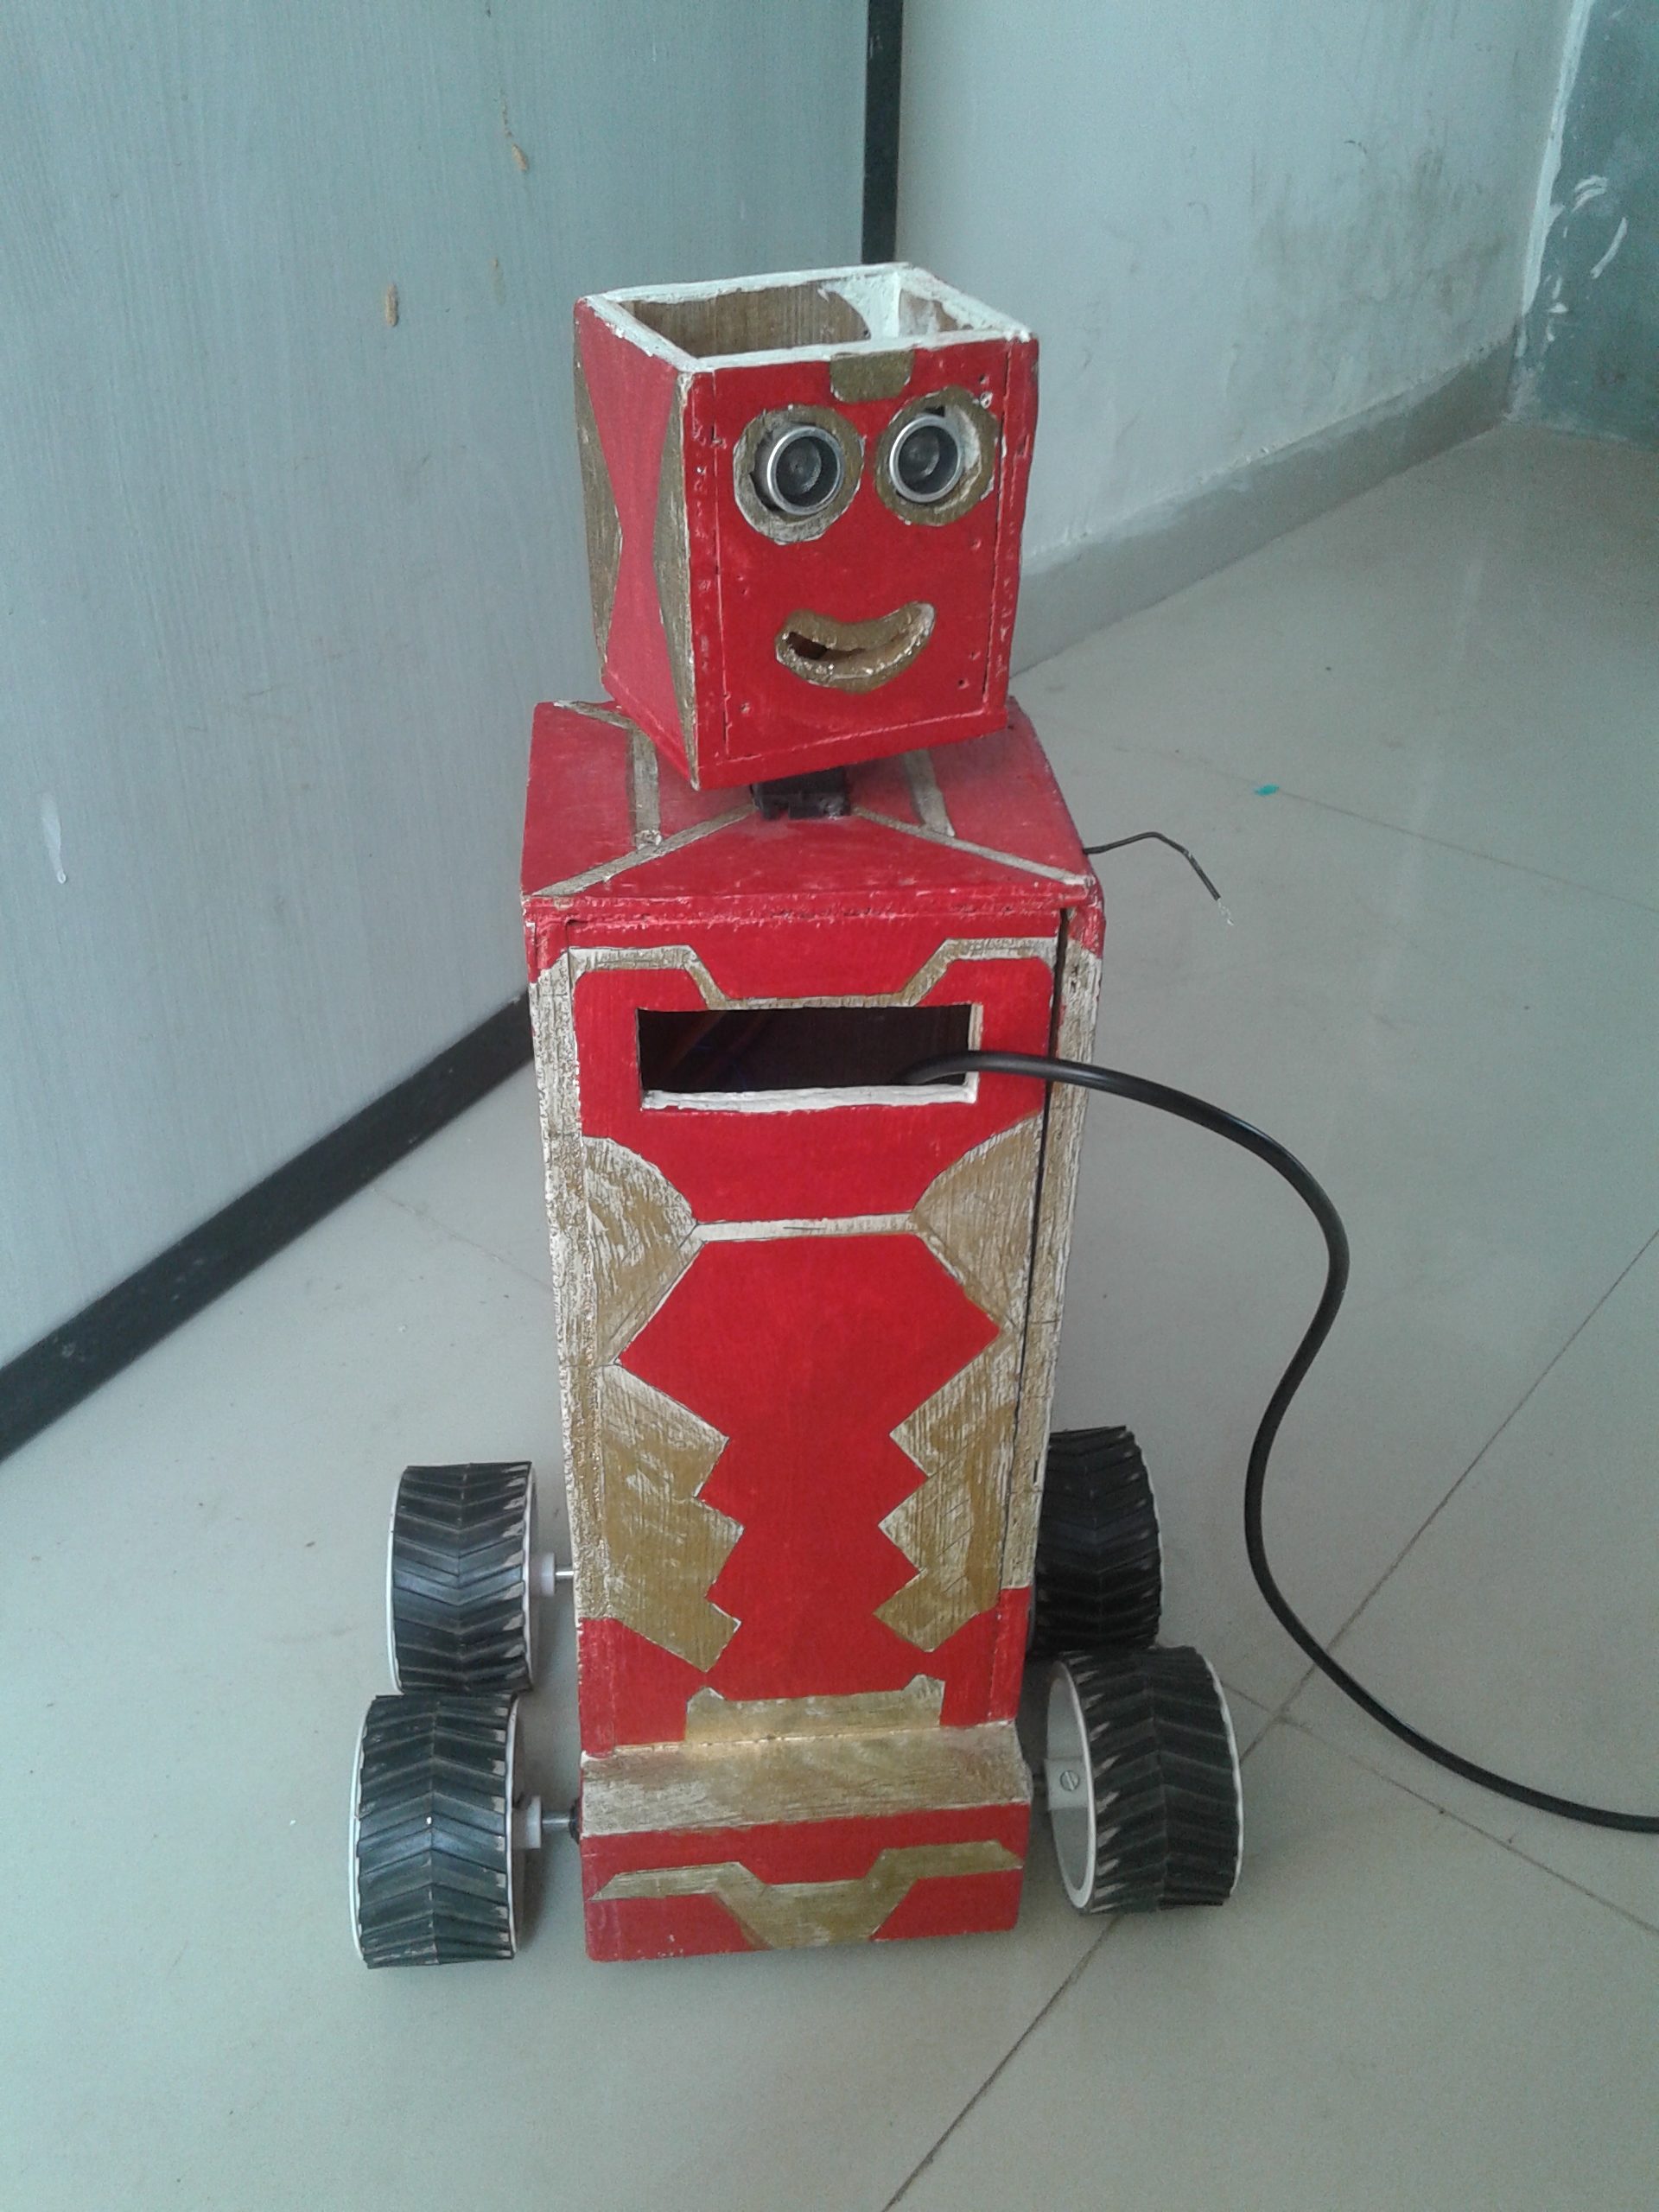
So the given project is based on such a type of concept. The project presented here is to demonstrate the concept of object follower. The robot first searches for any nearby object, and when it finds an object, it tries to follow it.
The robot uses the UDM (ultrasonic distance measurement) sensor to find an object and measure its distance. It has a servo motor to rotate the UDM sensor to search for an object, and it runs with two DC motors. The controlling circuit of the robot is built using an Arduino NANO board.
Here is the snap of this robot.
Let us start building this robot. First, collect all the required items.
List of required Items
Wheels

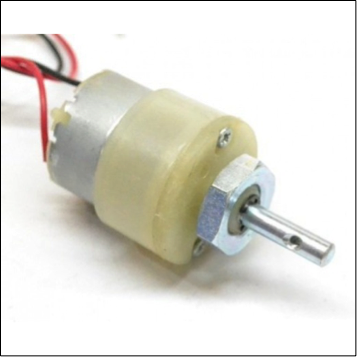
DC Gear motors (200-300 RPM)
Mini DC servo motor

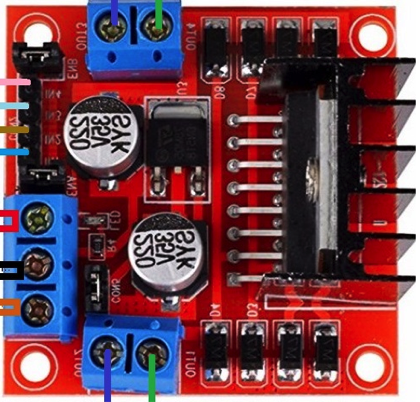
L298 dual DC motor driver module
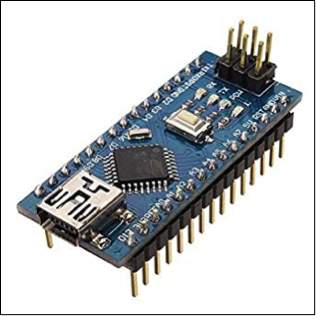
Arduino NANO board
UDM sensor HC SR04

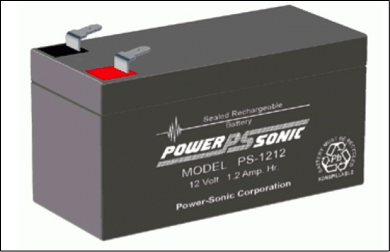
12 V battery
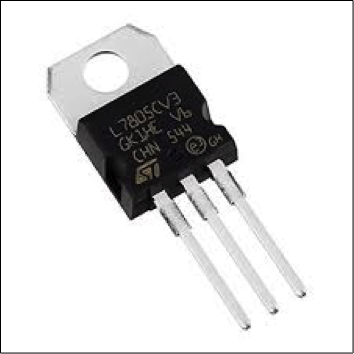
Voltage regulator 7805
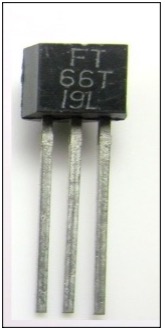
UM66 melody tone generator
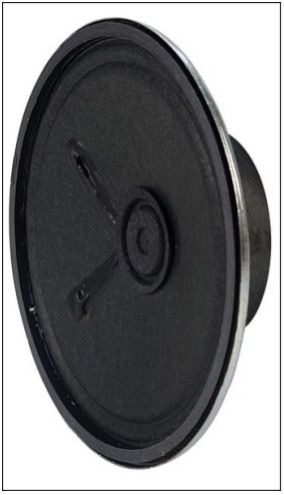
Small 8-ohm speaker
Next is to build the robot.
Robot construction
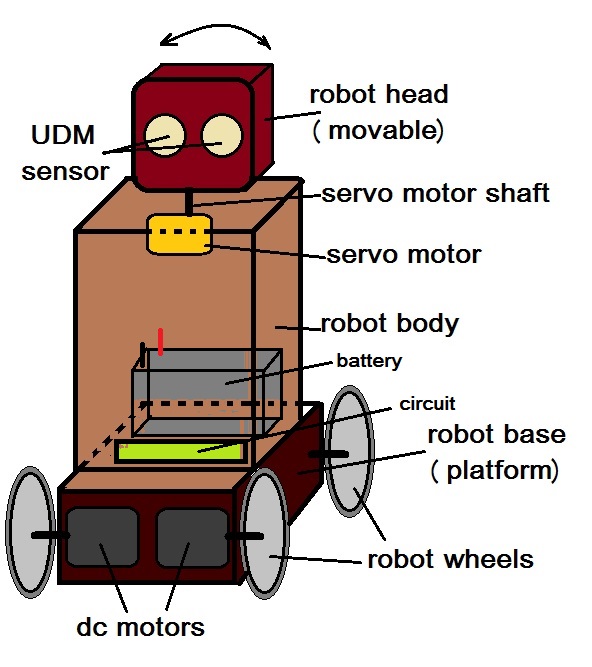
The complete robot is built using thin wooden ply or sheets. We may divide the robot into the following 3 sections.
- Base (platform) – it houses two DC motors to which wheels are attached. Two additional free wheels are also attached to this base. It moves the robot in the required direction
- Main body – it houses the main circuit of the robot along with a battery. The servo motor is fixed at the top of the body
- Head – the robot head is attached to the servo motor shaft. So it is movable. it houses an ultrasonic distance measurement (UDM) sensor
The figure given below shows all the internal arrangements of the robot.
Once the robot body is prepared, the next thing to do is to build its controlling circuit. So let us start with the system block diagram first.
System Block diagram
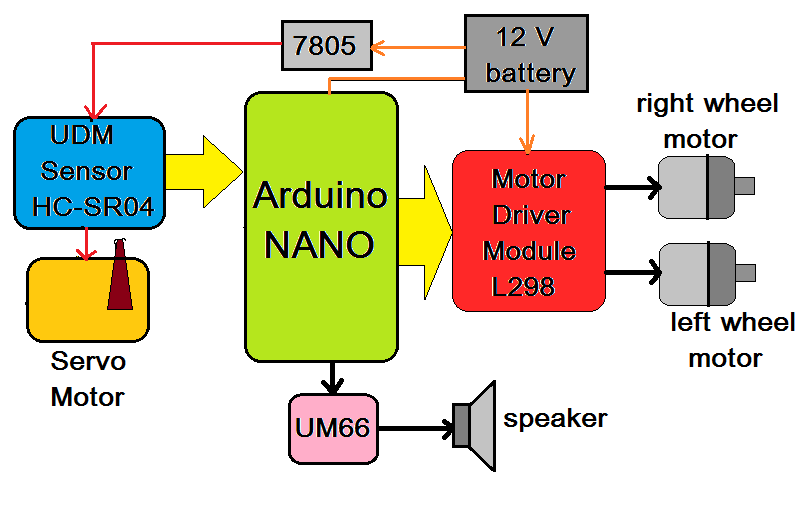
As shown in the figure, the major building blocks of the robot are Ultrasonic Distance Measurement (UDM) sensor HC SR04, dual DC motor driver module L298, LM7805 voltage regulator, UM66 tone generator, speaker, 2 DC motors, 1 servo motor, 12 V battery, and Arduino NANO development board.
UDM Sensor HC SR04:
It is used to find any nearby object to robot and measures its distance
Servo Motor:
It is used to rotate the robot head (UDM sensor) from 45o to 135o back and forth (CW an CCW)
Motor Driver Module
It is used to drive both motors. It provides the required voltage and current to both DC motors.
DC Motors
They are used to drive robot rear wheels. They move the robot forward and reverse as well as turn it left and right.
UM66 melody tone generator:
It generates a melodious audio tone through the speaker
Speaker:
It is used to give a sound output of tone generated by the speaker
Battery (12 V):
It supplies both motors and motor driver modules along with an Arduino NANO board.
7805 – Voltage regulator:
It is used to provide a 5V supply to the UDM sensor and servo motor from the battery.
Arduino NANO board:
It is the main building block. We can say it is the heart and brain of the system and the software program inside the board micro-controller is the soul of the system. It is responsible for the complete functionality of the robot. It performs all the tasks like
- Searching and detecting object as well as measuring its distance using UDM sensor
- Rotating servo motor clockwise (CW) and counterclockwise (CCW) to scan the area using UDM
- Drive two DC motors to move the robot forward or to take a left or right turn
- Continuously track the object and its distance using UDM and try to follow it by driving DC motors
- Play audio tone through the speaker using UM66
This was an overview of different building blocks of the system. Now let us see the system in detail – starting with a circuit diagram followed by its working and operation.
Circuit Diagram:
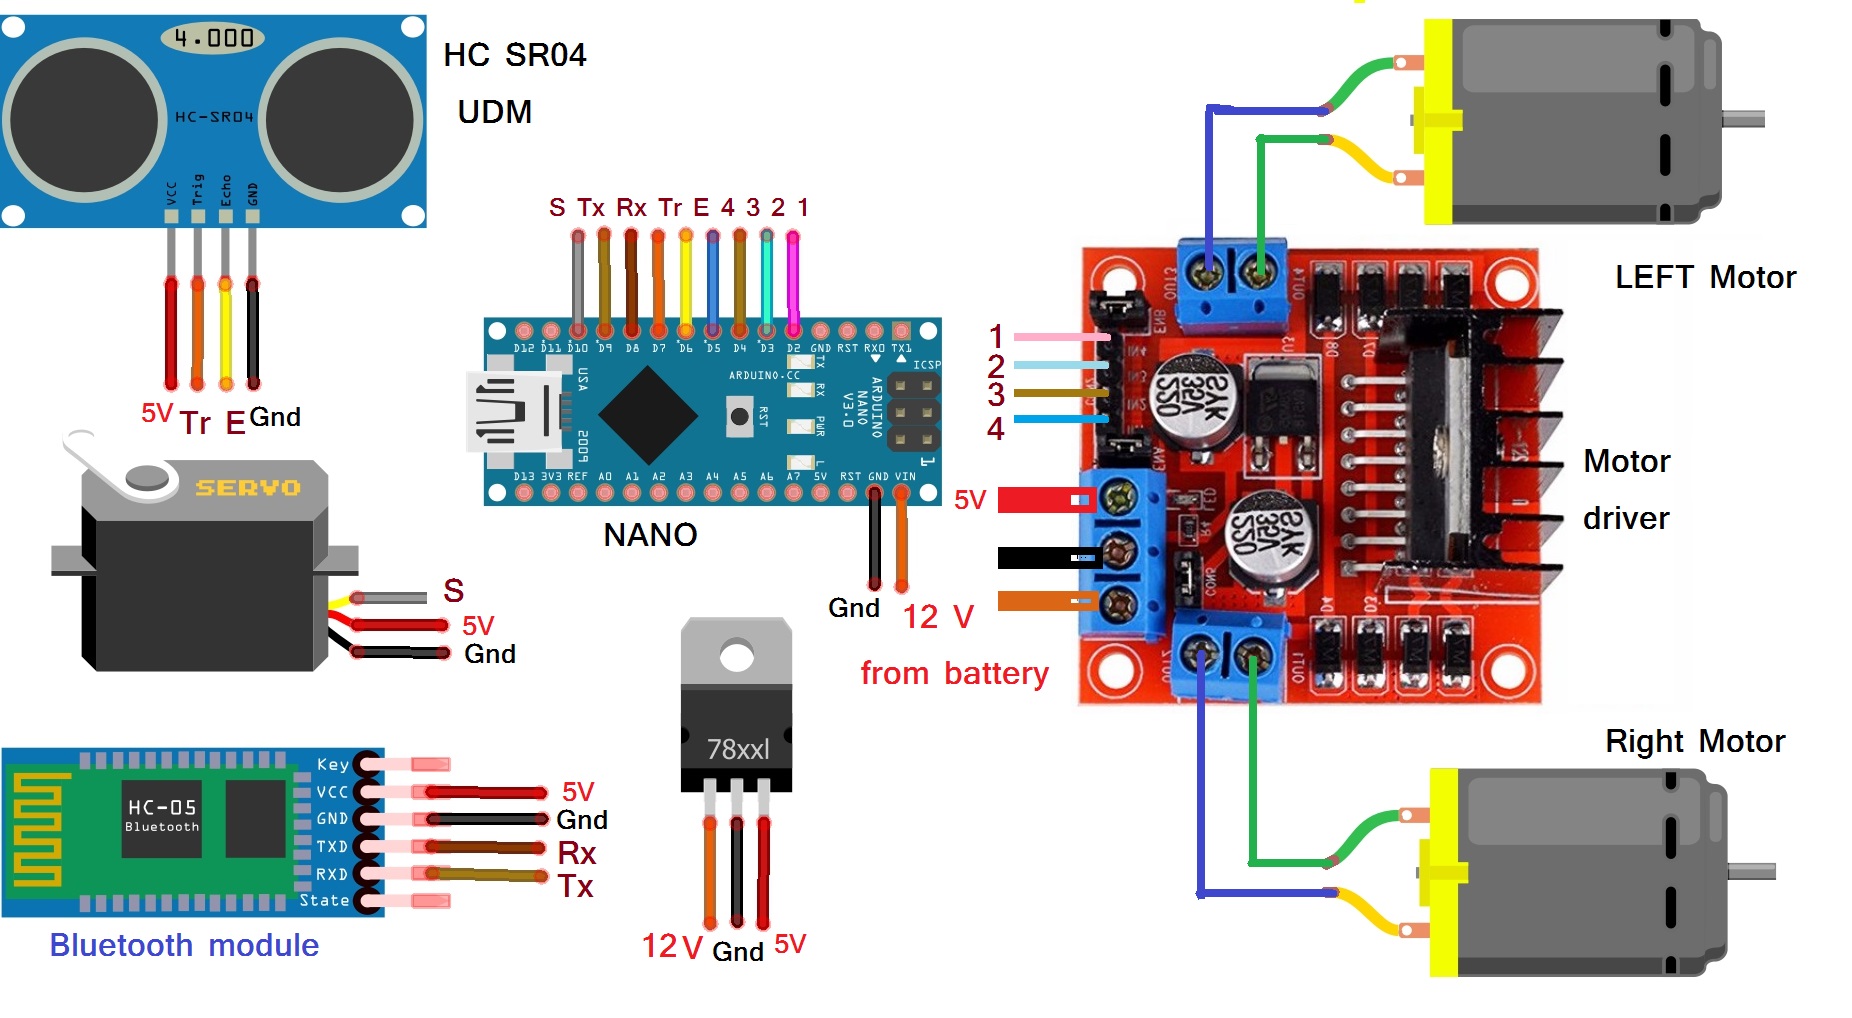 The figure shows that the circuit is built using Ultrasonic Distance Measurement (UDM) sensor HC SR04, dual DC motor driver module L298, LM7805 voltage regulator, and Arduino NANO development board.
- UDM sensor HC SR04 has 4 pins. (1) Vcc (2) Gnd (3) Trigger (4) Echo. The Vcc pin is connected to 5 V output from 7805. The Gnd pin is connected with a common ground of the circuit. The trigger pin is an input pin and connected with the D7 pin of the Arduino NANO board. Echo pin is an output pin, and it is connected to the D6 pin of the board
- Servo motor has 3 wire interfaces. (1) Vcc (2) Gnd (3) Signal. 5V supply from 7805 is given to Vcc. PWM signal is given to signal pin from D10 pin of Arduino board
- Arduino board pins D2 to D5 drives 2 DC motors through the L298 driver. These pins are connected to the motor driver module’s input, and DC motors are connected to the motor driver’s output. The motor driver requires two supplies – 12 V from battery for motors and 5 V from 7805 for internal biasing and operation
- UM66 has 3 pins. (1) input (2) output (3) ground. The input pin is connected with the D12 pin of Arduino. Output is connected with the speaker
- LM7805 gets 12 V input from the battery and generates 5 V regulated output. this output is given to the servo motor, UDM sensor, and L298 motor driver module
Working and operation:
The robot’s main task is to search for any nearby object and starts following it when it finds it.
It follows the object till the object remains 1 foot (30 cm) ahead of it. If the object is moving, the robot follows it. If an object moves fast and gets ahead more than a 1-foot distance, the robot stops. If the object is still, the robot will go closer to it until it is 10 cm away and then stop. Again it will start searching for the new object.
- The robot operation starts with searching for any object
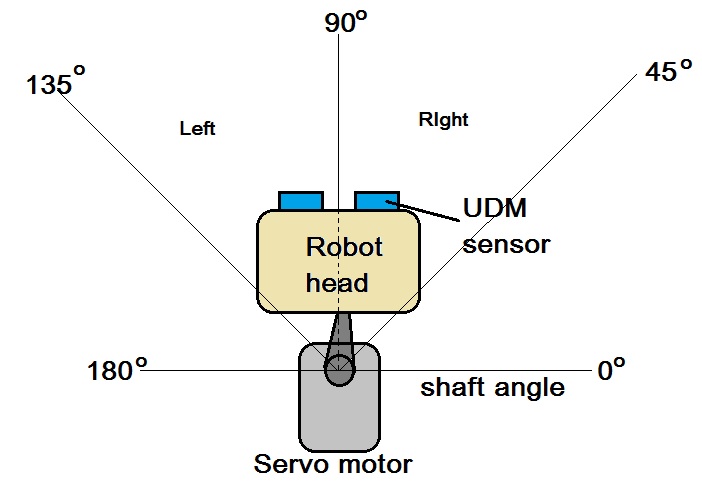
- The Arduino board micro-controller will give PWM signal to the servo motor to rotate it counter-clockwise (CCW) from 45o to 135o in the step of 5o
- So the robot head will move from right to left slowly
- While the robot head is moving, the microcontroller continuously searches for any object using a UDM sensor
- The microcontroller gives trigger signal to UDM sensor and waits for echo signal back
- If there is no object in front of UDM in the complete cycle, the micro-controller will rotate servo motor CCW from 135o to 45o (robot head will move right to the left). It will again start searching again
- If there is any object in front of UDM, it will send an echo signal back to the microcontroller. The microcontroller calculates the distance of the object
- If it is more than 30 cm, it will ignore it and continue to search new object
- If the distance is less than 30 cm, then the microcontroller will stop the servo motor from stopping searching
- Next, it will read the servo motor angle to find the direction of the object
- If the servo motor angle is less than 90o (that means between 45o to 90o), then the robot will drive both DC motors to take a right turn
- And if the motor angle is more than 90o, the robot will drive DC motors to take a left turn. See the figure given below to understand it better
- After taking a left / right turn, the micro-controller will drive both motors to start moving forward, and the robot will start approaching the object
- While the robot is moving forward, the microcontroller will continuously measure object distance using a UDM sensor
- The robot keeps on moving forward till it measures the distance from an object less than 30 cm
- Now there can be 3 possibilities – 3 cases
- Case 1: If the object is not moving, the robot reaches up to 10 cm distance, and the microcontroller stops both motors to stop the robot. Once again microcontroller starts searching for new objects.
- Case 2: If the object is moving, then the robot also keeps moving forward to follow the object
- Case 3: If the object is moving and it moves away more than 30 cm distance microcontroller stops both motors to stop the robot. And it starts searching for a new object
All the above working, operation, and functionalities of a robot are due to the program downloaded into the internal FLASH memory of Arduino board microcontroller ATMega328. This program is written in C/C++ language in the Arduino IDE software tool. It is compiled using the same software and then downloaded into Arduino NANO board microcontroller through USB
Software Program
Filed Under: Arduino, Microcontroller Projects

Questions related to this article?
👉Ask and discuss on EDAboard.com and Electro-Tech-Online.com forums.
Tell Us What You Think!!
You must be logged in to post a comment.