Requirement:
1. Arduino
2. Android phone that supports USB otg
3. OTG cable
Introduction
Many of you might know about USB on the go, you can connect your pen drive, game controllers, and other stuff via OTG. USB OTG was also great for powering up small devices like arduino, but much couldn’t have been achieved with it(except for powering). All the processing power that today’s mobile devices possess was going to vane and mobile they were only used as merely small power banks for generally arduino based prototyping.
But if you don’t want ad banners and really want to get really picky when it comes to color themes with some additional non-essential features like dropbox support, smart engine and smart keyboard then the paid version is the way to go.
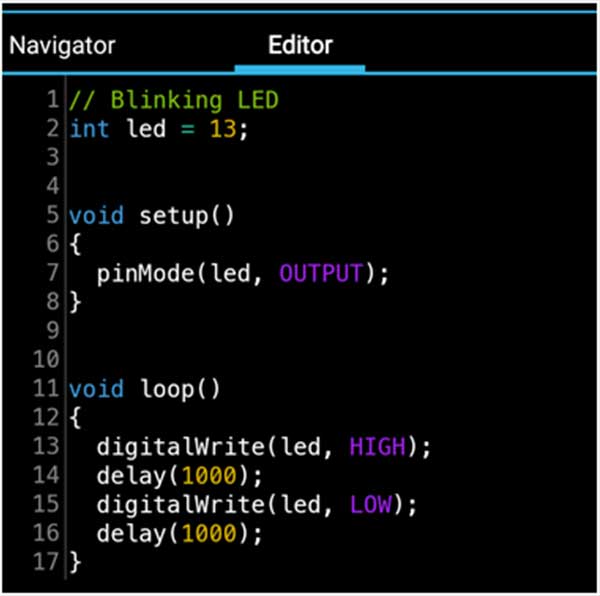
Interface :
Interface is pretty clean, not cluttered with tabs and buttons.

Then around 50% of the screen area is allocated for the “Editor” and “Navigator”.
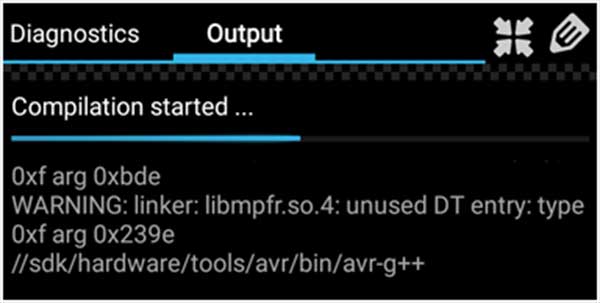
Bottom part is reserved for “Diagnostics” and “Output”.
Usage:
Write/modify your desired sketch in the editor section, compile it by pressing the icon next to save icon. Wait for a while, it might take sometime depending on your sketch and the mobile device. Then check the output section for any errors/warnings.
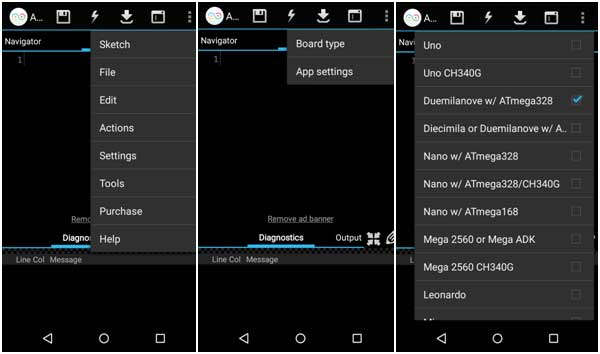
Connect Arduino with your mobile device using USB OTG. Select the desired board from the options under Settings–>Board type, for the purpose of this demonstration I have Arduino Duemilanove with ATmega328.
Now click upload.
Filed Under: Articles

Questions related to this article?
👉Ask and discuss on Electro-Tech-Online.com and EDAboard.com forums.
Tell Us What You Think!!
You must be logged in to post a comment.