Now voice control is not only limited to high end devices such as smart phones or iPhones. The Raspberry Pi, which is an open source hardware and completely customizable offers you the same. Plus, it's cheap! You can customize it to play music, open gmail or maybe tell you some jokes.
Here is a simple yet interesting example on how to customize your Raspberry Pi to light an led using voice control. In this tutorial we will learn how to install Voice Command, and making the configuration to turn a Led on and off.
Prerequisites & Equipment:
You will need the following:
-
A Raspberry Pi Model B or greater.
-
A USB WiFi Adapter (Edimax – Wireless 802.11b/g/n nano USB adapter is used here).
-
A USB webcam with microphone / USB microphone (Logitech USB Webcam is used here).
-
An SD Card flashed with the Raspbian OS (Here is a guide if you need)
-
Access to the Raspberry either via a keyboard and a monitor or remotely.
Here you cannot use microphones since Raspberry Pi doesn’t include a sound card. So use either USB microphone or a USB Webcam with an inbuilt microphone.
Working Principle:
The software used in this tutorial uses Google Voice and speech APIs. The voice signals from the user spelled is captured by the microphone of the USB webcam. This sound signals are then converted to text by using Google voice API. The text is then compared with the other previously defined commands in the command configuration file. If there is a match corresponding commands are executed.
Initializations:
First, we have to check whether your microphone or webcam is detected by the Raspberry Pi and the microphone volumes are high. First step is to check your webcam or microphone is listed using the command “lsusb“.

Fig. 1: Checking Webcam Or Microphone Detected By Raspberry Pi
Next step is to set the microphone recording volume high. To do this, enter the command “alsamixer” in the terminal. A neat graphical interface screen shows up, press the up or down arrow keys to set the volume. Press F6 (all), then select the webcam or microphone from the list. Once again use the up arrow key to set the recording volume to high.

Fig. 2: Setting Microphone Volume High
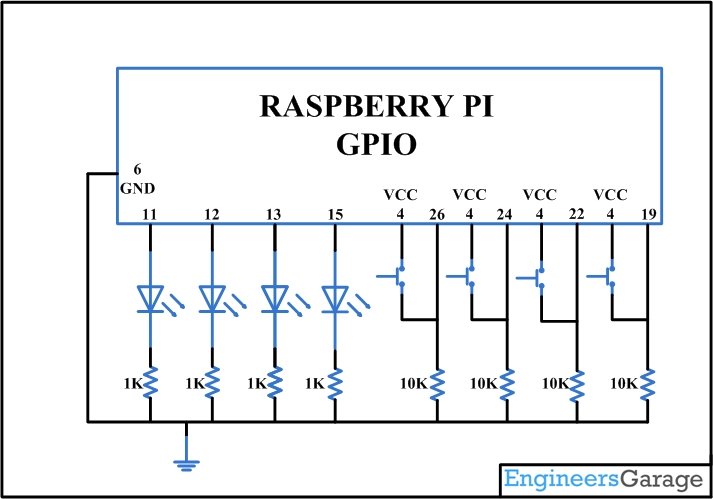
Connect a black female to male jumper to physical pin 6, a ground pin and connect a red jumper to physical pin 16 of your Pi.

Fig. 3: Female And Male Jumper Connections With Pi
The Wiring Pi project is used here to switch the GPIO pins high and low. Run the following commands to download and install Wiring Pi.
sudo apt-get install git-core
git clone git://git.drogon.net/wiringPi
cd wiringPi
./build

Fig. 4: Downloading Wiring Pi To Raspberry Pi

Fig. 5: Installing Wiring Pi On Raspberry Pi
Create the following script as a file named ‘led’:
#!/bin/bash
if [ $# > 1 ]
then
/usr/local/bin/gpio mode 4 out
if [[ “$1” = “on” ]]
then
/usr/local/bin/gpio write 4 on
fi
if [[ “$1” = “off” ]]
then
/usr/local/bin/gpio write 4 off
fi
fi
Set the script to be executable with the following command:
chmod u+x led
Now this command should ON the LED connected to the pin. ( Pin number description can be found in Wiring Pi page.
./led on
For turning OFF this command can be used
./led off
Installing the voice recognition software for Raspberry Pi:
Voice Command installs as a part of collection of packages. We, only need the dependencies and voice command components for this tutorial. When the setup script runs, it will ask your wish to install several packages you can only say yes to dependencies and voice command.
Execute the commands below:
git clone git://github.com/StevenHickson/PiAUISuite.git
cd PiAUISuite/Install/
./InstallAUISuite.sh

Fig. 6: Installing Voice Recognition Software For Raspberry Pi
After Voice Command installs, it will prompt you to setup. Choose yes to allow the install script to auto setup. When the setup is complete it will prompt you to edit the config file. Press Enter to edit the file and see the next section for configuration. Add the following line to the config file, save, and exit.
light==/home/pi/scripts/led …
The above line means that, when you say light on or light off Voice Command will execute the script /home/pi/led with passing the argument on or off. This is similar to the result as when you ran the script manually.
Use the below command to launch Voice Command. The -c means to run continuously, -k pi sets the name prompt you will say to get the Raspberry Pi’s attention. The -v causes the program to verify the prompt before going into a voice recognition mode. The -i causes voice command to only process explicit commands listed in the config file. Finally, the -b0 argument forces voice command to not use filler text before its response.
voicecommand -c -k pi -v -b0 -i
Execute the above command
Say clearly PI and wait for the response “Yes Sir”
Say clearly light on. The LED should turn on
Say clearly light off. The LED should turn off
Congratulations! You’ve successfully voice controlled your lamp with your Raspberry Pi.
You may also like:


Circuit Diagrams
Filed Under: Electronic Projects, Raspberry pi., Tutorials

Questions related to this article?
👉Ask and discuss on EDAboard.com and Electro-Tech-Online.com forums.
Tell Us What You Think!!
You must be logged in to post a comment.