Security is a prime concern in any IoT application development. The data from the IoT devices is passed to the server/cloud where it may be stored temporarily or for long time to generate analytics. The transportation medium through which the data is passed from the IoT device to the cloud must be secured with implementation of various IoT security measures, so that the data could not be hacked by any Man-in-the-Middle attack.
The MQTT protocol too has various security provisions like authentication, authorization, payload encryption and TLS/SSL transport layer security. CloudMQTT is one of the MQTT Broker which allows implementing all these security measures. CloudMQTT is a managed and secured Mosquitto broker in the cloud which provides lightweight method of carrying out message from publisher to subscriber using pub/sub message queuing model. The cloudMQTT broker uses random number of ports which are generated by CloudMQTT broker itself. For no security, the port number starts with 1XXXX, for TLS/SSL security, port number starts with 2XXXX and for Websocket support, it starts with 3XXXX.
In this tutorial, it will be demonstrated that how two mobile devices (smart phones) can communicate using MQTT protocol with TLS security via CloudMQTT broker. For configuring these smart phones as MQTT clients, an android app – IOT MQTT Dashboard is installed and used. For learning more about configuring any mobile phone or PC as MQTT client, check out the following tutorial –
How to set up PC and Mobile as MQTT Clients
For availing services from the CloudMQTT broker, a developer or user need to create an account on customer.cloudmqtt.com. So first of all create an account on customer.cloudmqtt.com and login to the control panel.
Visit customer.cloudmqtt.com and enter an email ID in the sign up form.
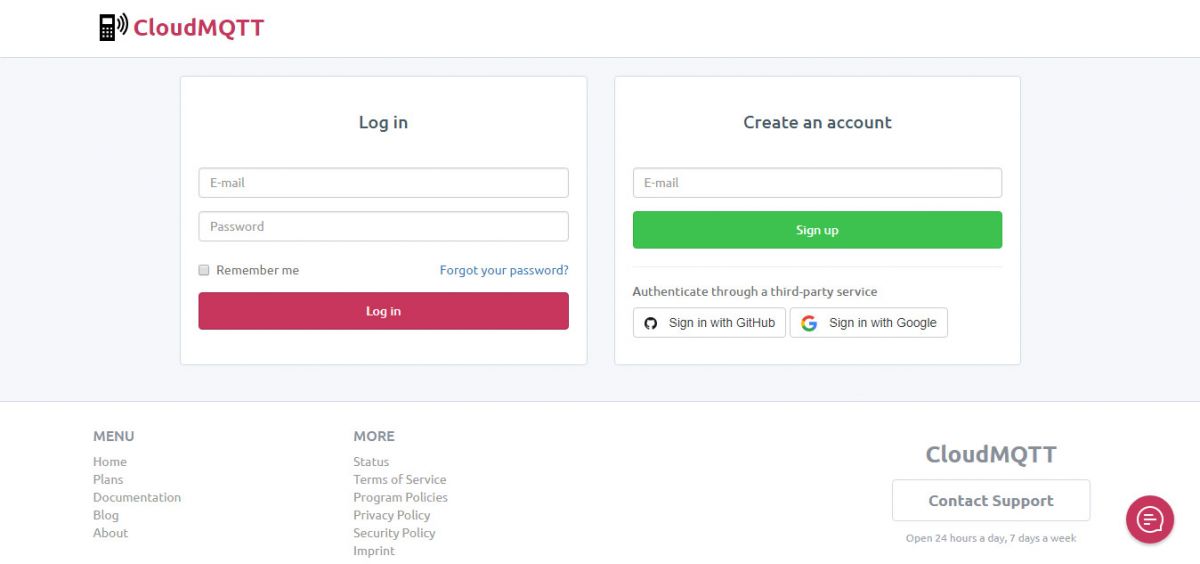
Fig. 1: Screenshot of Customer Account Registration Page on CloudMQTT
A confirmation message will be mailed at the email ID. Open the email from CloudMQTT and click on ‘confirm email’.

Fig. 2: Screenshot Customer Account Confirmation Email from CloudMQTT
Now create the CloudMQTT account by entering a password of own choice in the opened tab.

Fig. 3: Screenshot of Customer Account Creation on CloudMQTT
A new window will open asking to create an instance. Create a new CloudMQTT instance by clicking on ‘create’ link.

Fig. 4: Screenshot of Instance Creation on CloudMQTT
In the ‘Create new instance’ window, enter the name for the instance and add a tag name like Mobile2Mobile.
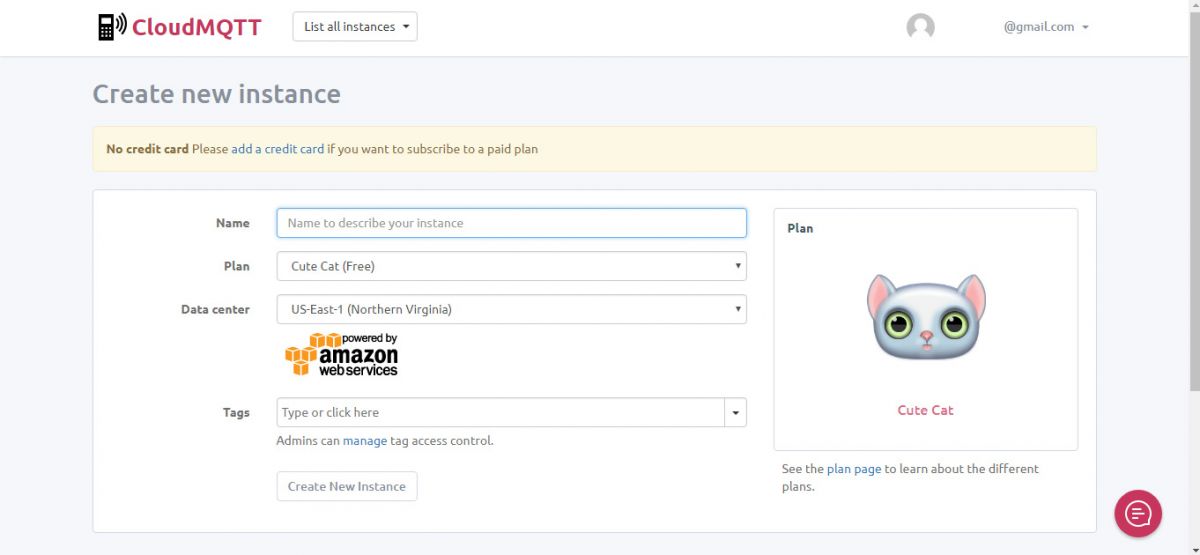
Fig. 5: Screenshot of New Instance Creation on CloudMQTT
After creating the instance, the instance details such as connection information, username, password and port assigned can be viewed at the detail page.

Fig. 6: Screenshot of Instance Details on CloudMQTT
This instance info page contains the following information that will be further used on the MQTT Client devices –
1) Server – This is the domain name of the MQTT broker. In case of CloudMQTT it looks like m**.cloudmqtt.com.
2) Username and Password – The CloudMQTT server randomly generates username and password for the MQTT clients to connect with the broker. The developers can also manage their own username and password to connect with the MQTT broker.
3) Port – CloudMQTT generates random port to connect the devices to the MQTT broker. The TLS/SSL port is used in this tutorial to provide secure connection to the devices.
Now click on the users tab and create a user by entering a username and password. The user is the MQTT Client which will be identified on the broker by its username and password.
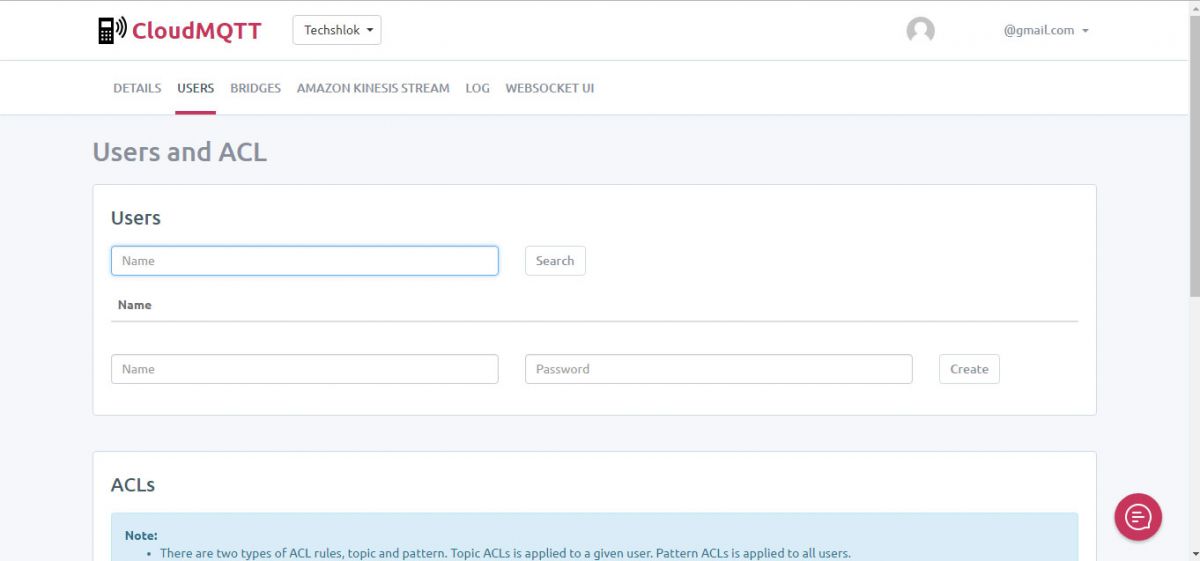
Fig. 7: Screenshot of User Creation on CloudMQTT

Fig. 8: Screenshot of User Details on CloudMQTT
In this tutorial a user is created with username ‘Techshlok’ and a password. Any password can be set by the developer. This way, multiple users can be created for the CloudMQTT instance with each user having separate username and password to connect with the MQTT broker.
If on the IOT MQTT Dashboard app, randomly generated username and password are used, then there is no need to add topics to the MQTT broker but if defined users identified by username and password are used on the app then the topic fields must be first created and each user must be provided access rights to them. The topics can be created under ACL tab. Click on the Topic button, select user, write a pattern name and click on add button. In this tutorial, the user with the name – Techshlok is used. The pattern name is the name of the topic.
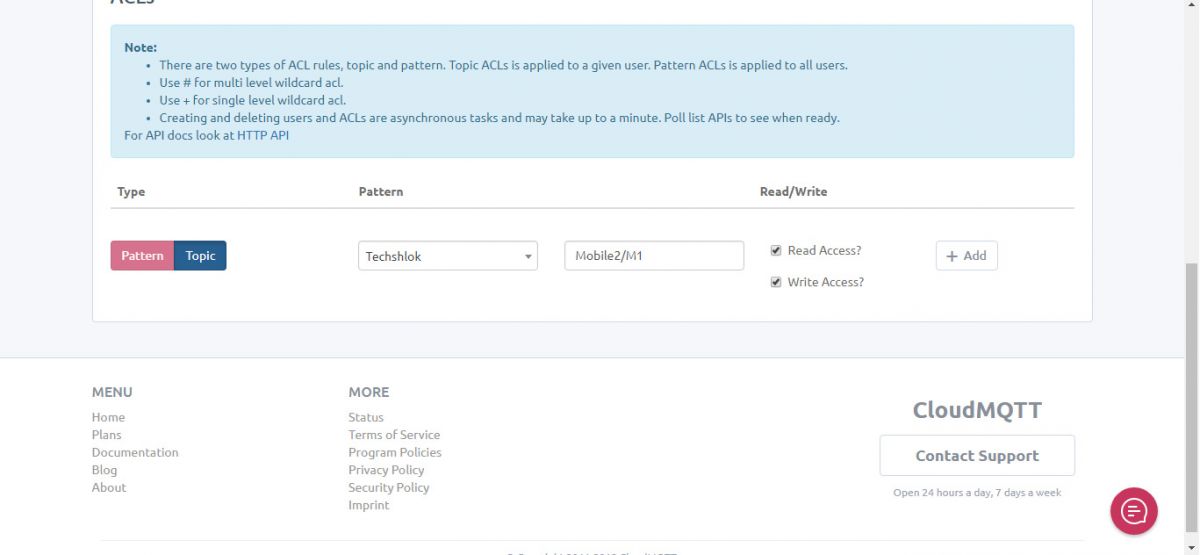
Fig. 9: Screenshot of Topic Creation on CloudMQTT
There are two topics/patterns created – “Mobile2/M1” and “Mobile1/M2”. The user has been given read and write accesses for both the topics. So, the MQTT clients which will be connected to the user Techshlok with the defined password can share their message on these 2 topics.
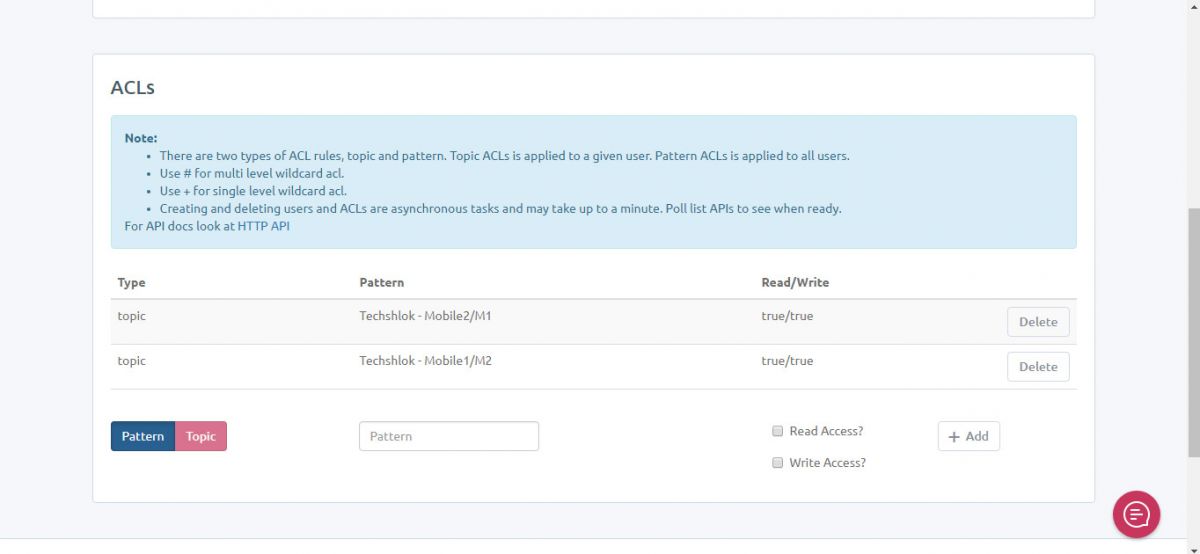
Fig. 10: Screenshot of Topics Created on CloudMQTT
Now, everything is set on CloudMQTT broker side. It’s time to configure the mobile devices to connect to the MQTT broker. The IOT MQTT Dashboard app is used for this purpose. This App provides TLS/SSL security to securely transmit the data.
Use the server domain name which is provided in the CloudMQTT instance when the account was created and use the port number on which TLS security is enabled. Use the username and password entered while creating the user.
The broker generated username and password are used in this tutorial. Make sure that TLS/SSL is set to 1 so that the secure connection with the broker can be used. Save the settings. When the settings are saved, the devices will be securely connected to the MQTT broker.
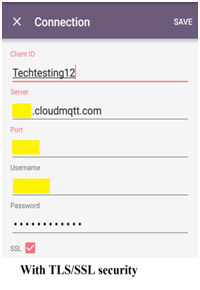
Fig. 11: Mobile Screenshot of New Connection Activity on IOT MQTT Dashboard
Now, the devices are connected with the broker, the devices are ready to publish and subscribe the messages. If randomly generated username and password are used, any topic can be defined at the client end. As the topics have been already created for publishing the message from one mobile (lets name it mobile-01) and for subscribing the message, the same topic is created on the other mobile (lets name it mobile-02). In the same way, the topic for mobile-02 publisher and for mobile-01 subscriber can be created on client ends.
Learn more about creating topics and publishing messages on IOT MQTT Dashboard from the following tutorial –
Communication between PC and Mobile using MQTT Protocol Via HiveMQ Broker
In the above mentioned tutorial, HiveMQ broker is used. Use CloudMQTT broker, rest process for creating topics and publishing messages remains the same for any broker.
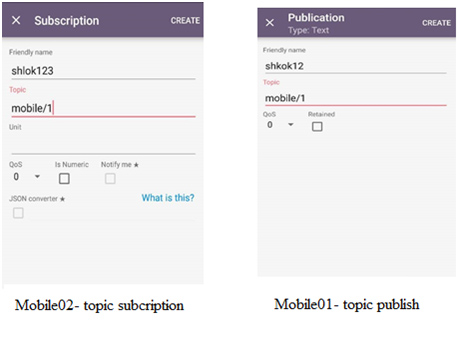
Fig. 12: Mobile Screenshot of Publish Subscribe Activity on IOT MQTT Dashboard
The topics of both mobile clients have been already registered to the CloudMQTT broker. The messages on the topics can be published from the one client which the subscription client will get automatically through the broker on the mobile app.
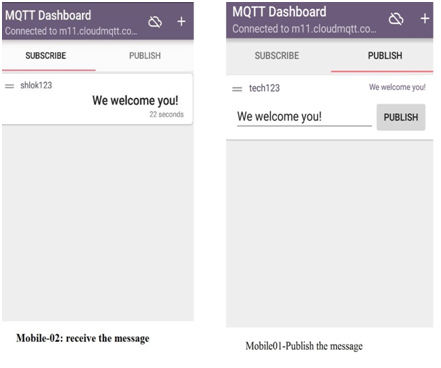
Fig. 13: Mobile Screenshot of Publish and Subscribe Topics Listed on IOT MQTT Dashboard Publish Subscribe Activity
The MQTT broker is securely receiving and passing the messages to the clients. This way basic authentication, authorization and transportation layer security can be enabled on MQTT Protocol.
In the next tutorial, learn to control an LED light from a remote PC using ESP8266 Wi-Fi Modem and HiveMQ MQTT Broker. The tutorial also demonstrates loading code to the ESP8266 board using Arduino board.
You may also like:
Project Video
Filed Under: IoT tutorials, Tutorials
Filed Under: IoT tutorials, Tutorials




Questions related to this article?
👉Ask and discuss on EDAboard.com and Electro-Tech-Online.com forums.
Tell Us What You Think!!
You must be logged in to post a comment.