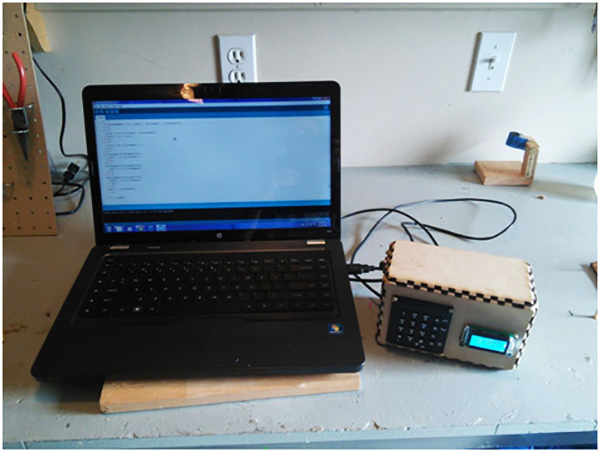
With a spare LCD screen and a keypad at his disposal, a school teacher decided to make an Arduino powered calculator. The DIY project turned out to be more challenging than Gabe thought, but his calculator was simple and fun. It could do all basic algorithmic calculations and show results up to 9 digits. It had a built-in game option. But it wasn’t strong. When he showed his project to his class, the students played with it and broke it down.

The teacher’s calculator inspired one of his students. Kale_3D not only repaired that broken calculator (he was the only one in his class to do it), he made one of his own. His gadget, an improvement over Gabe’s basic calculator, can accommodate more digits, has trigonometric functions and can also perform complex algorithmic calculations. It uses an Arduino compatible LCD screen with LED backlight, a 9v battery as power source, a suitable USB cable, Arduino duemilanove, a computer and a lot of wiring. I repeat, a LOT OF wiring!
Learning from his teacher’s experience, this inspired hobbyist puts it all in a laser cut plywood case and glues the components. The result is a sturdy, somewhat large in size calculator that is not the most practical device. Which was never what he was looking to make. He saw his teacher’s device, got encouraged when he fixed it, decided to make one for himself, made it and in the process learned a lot of stuff about coding and wiring. What could be a better reason to do a DIY project?
Here’s a video of Kale_3D’s Arduino based calculator:
And here’s a video of that original calculator that inspired the more robust device:
If you are interested in trying your hand at an arduino powered calculator, you can read about Kale_3D’s DIY instructions, and go for it. It would be nice to see another DIY calculator. Maybe it can be compact, complex or with less wiring?
Filed Under: Reviews


Questions related to this article?
👉Ask and discuss on Electro-Tech-Online.com and EDAboard.com forums.
Tell Us What You Think!!
You must be logged in to post a comment.