Look inside this one-chip clock built from surplus parts. With the case open, replacing parts waiting to fail seemed like a good idea.
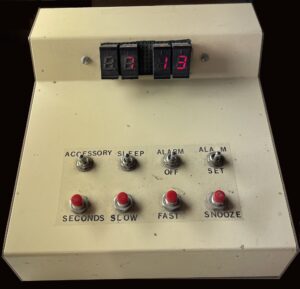
In my second year at WPI, I found myself in “B term” where I had a scheduling problem. Being as WPI operates on a four-term academic year, I couldn’t find a one-term course for the second term that didn’t require a prerequisite. Faced with taking just two classes (but having paid for three), I convinced a professor to sponsor me for an independent study building a digital clock (Figure 1).
The previous summer, I stopped into a surplus electronics store called Verada 214 in Lowell, Mass. Figure 2 shows portion of an ad from the January 1975 issue of 73 Magazine. There among the unorganized piles of parts, I found some National Semiconductor MM5316 clock chips in 40-pin dual-inline packages (DIPs) along with a datasheet. This seemed like a way to fill the unused academic slot.
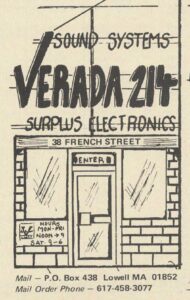
Figure 2. Verada 214, a surplus electronics store in Lowell, Mass. This image was originally published in 1975 by 73 Magazine.
Having registered for the project, I again went to Verada 214. That’s when I bought the socket, switches, LEDs, transistors, original wooden box, and other components.
Wooden box?
That’s because when I started building the clock using a plastic case, my roommates took pleasure in annoying me by pushing the buttons. To make that harder, I used a wooden box and installed the pushbuttons flush with the box surface. That made it just difficult enough for my roommates to stop because they needed something to push the buttons. After leaving school and my roommates, I rebuilt the clock into the current metal box.
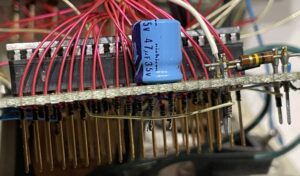
The video provides an overall tour of the clock with the case open. There, you’ll see wire-wrapped connections and a few soldered connections. Figure 3 shows some of the wire wrapping.
Replacement parts
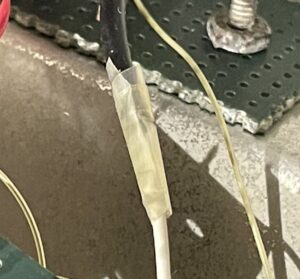
One soldered connection made me wonder what I was thinking all those years ago. Figure 4 shows a connection from the transformer primary AC mains (black wire) that goes through the white wire to a toggle switch that, when closed, bypasses a relay. The relay provided power to an AC outlet on the back, where I once connected a radio. Because I no longer use the AC outlet, it seemed best to disconnect it from the circuit. Insulating a bare AC mains connection with tape, and not even electrical tape? What was I thinking?
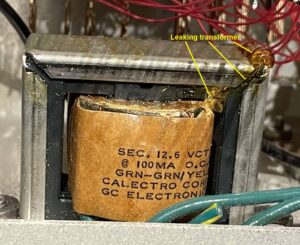
In addition to feeling the need to make a better AC mains connection, I found the transformer had leaked (Figure 5) and needed replacing even though it still worked. After searching several distributor sites, I ordered a Hammond Manufacturing 166F12B 12 V CT transformer from Arrow ($0.99 + $6.99 for shipping). Mouser and Digi-Key charge $14 and $15, respectively, plus shipping.
Expect capacitors to fail
You’ve probably replaced a few failed electrolytic capacitors. I have. To my surprise, the blue 47 µF, 35 V capacitor in the power circuit (Figure 3) has never failed, even after so many years. Nevertheless, I felt the need to replace it. Not wanting to pay another $6.99 for a $0.99 part, I bought a 100 V electrolytic capacitor from You-Do-It Electronics (no lower voltage in stock at the time). Will it last 40 years or fail in ten?
Figure 6 shows the new transformer with the primary connected to AC mains through a twist-on wire connector. The figure also shows the new capacitor (black). Now came the moment of truth. Would the clock work as before or go up in flames? I’m happy to report that it’s working.
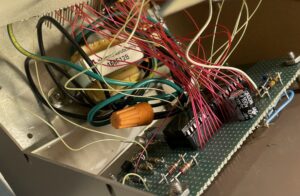
Figure 6. The new transformer now uses capped AC mains connections. The new capacitor filters the AC ripple.
Look carefully at Figure 6. You’ll see a 2N2222A transistor in a metal can package. Next to it is a potentiometer that’s a brightness control for the LEDs. Sometime around 2013, the LEDs mysteriously dimmed. To compensate, I placed a carboard box around the LEDs to block ambient light. I attributed that to aging LEDs. A few years later, the LEDs just as mysteriously regained their original brightness. I can easily read them, though perhaps I should open the case and try adjusting the pot and see if the LEDs brighten.
Or I could leave things alone for another 40 years.
Figure 7 is a portion of “The National Anthem” published in September 1973 highlighting the MM5316. Today, the “MM” designation is used by Menlo Micro. Fortunately, the people there are smart enough not to use the MM53xx designation.
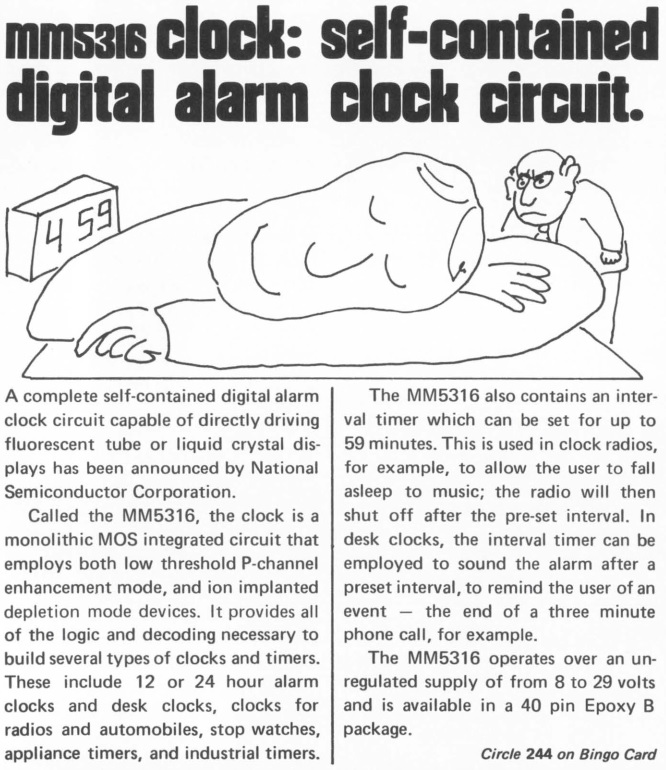
Figure 7. National Semiconductor published an ad in 1973 that included this description of the MM5316.
Filed Under: Circuit Design, Electronic Projects, Featured, Home Automation, Video


Questions related to this article?
👉Ask and discuss on Electro-Tech-Online.com and EDAboard.com forums.
Tell Us What You Think!!
You must be logged in to post a comment.