Is it possible to update the weather on an embedded device or a wearable without interfacing with any temperature or humidity sensor? With Internet of Things (IoT) access, devices can connect to a variety of web services with the help of APIs and extract several useful insights and information through simple HTTP requests. In response, the devices get an HTTP header or JSON (JavaScript Object Notation) data that can be interpreted within the firmware code to extract useful insights.
In this project, we will design a sensorless weather station on ESP8266/ESP32 without interfacing with a single sensor. We will be able to extract multiple useful weather updates such as temperature, pressure, humidity, and wind speed updates — for any location on the earth.
We will be doing all of this by accessing free web service from OpenWeatherMap, a subscription-based service that provides weather updates, historical weather data, weather forecasts for road risk analysis, and agriculture analytics. With a free signup, it is possible to get weather updates for any city across the globe. After signing up for the API, we implement an HTTP request through MicroPython code on ESP8266/ESP32 to get weather updates for a specific city or location. The MicroPython code is crafted to extract specific insights from the JSON data received as a response from the OpenWeather platform. So, let’s get started.
Components required
- ESP8266/ESP32 x1
- Micro-USB cable x1
Circuit connections
Earlier, you might have built a MicroPython-based weather station by interfacing a temperature and/or humidity sensor like DHT-11-based MicroPython Weather Station. For building this weather station, you literary don’t need to interface any sensor to the ESP board. You only need to have MicroPython loaded to the ESP board and have an IDE like uPyCraft or Thonny ready to start coding MicroPython. The rest will be done within the MicroPython script. The ESP board must have access to the internet through a WiFi network.
Free signup with OpenWeatherMap
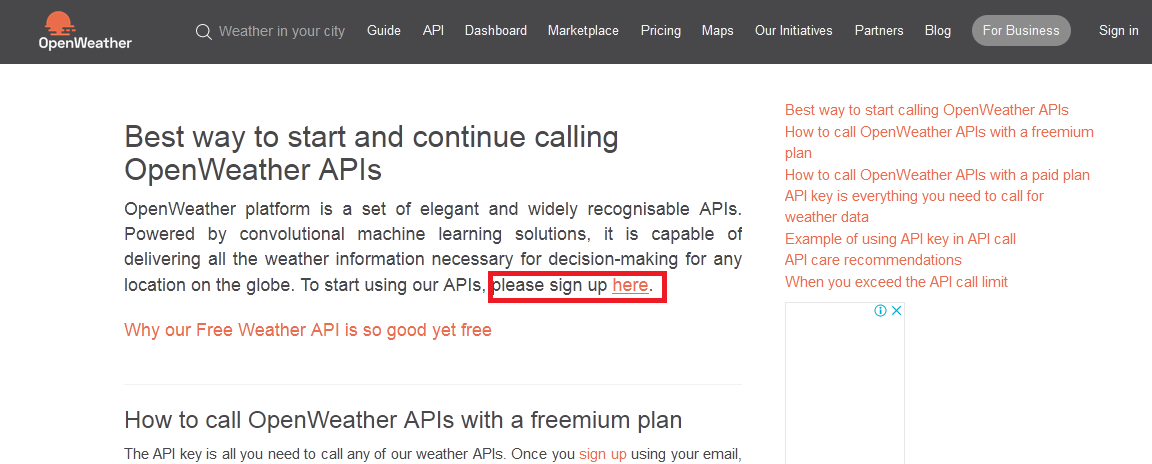
Firstly, you need to signup OpenWeatherMap API. Visit the following link for signup – https://openweathermap.org/appid/. The webpage offers different options and plans for using the OpenWeatherMap service. Click the first signup option.
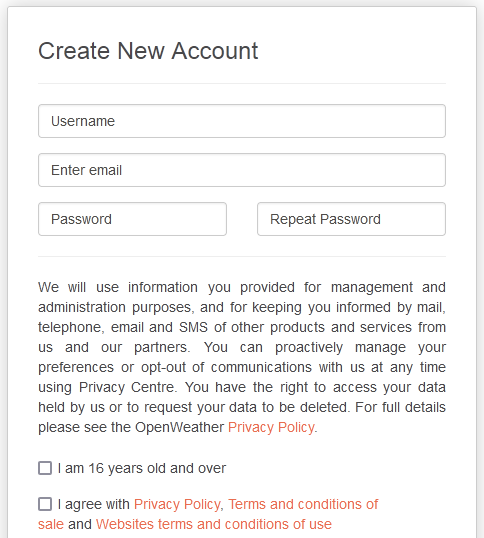
Next, you will be redirected to a “Create New Account” form. Fill in your details, select the appropriate checkboxes, and click on the “Create Account” button.
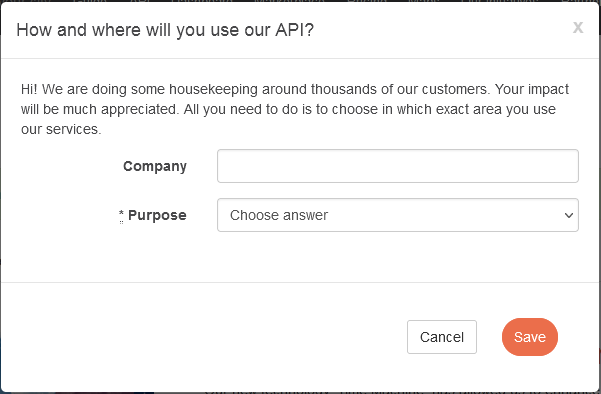
Finally, you will be prompted by a popup asking for the company name and purpose. You can put your own name or the name of your organization and choose education/science as the purpose.
A confirmation email will be received on the registered email account. Open your email account and verify your email.

As you will complete the verification of your email account, you will be redirected to the OpenWeatherMap console.
Get the API key
In the OpenWeatherMap console, navigate to the “API Keys” tab. Here, you already will be shown an API key generated with free signup. You can even create more API keys to use on different devices or get access to subscription-based services.
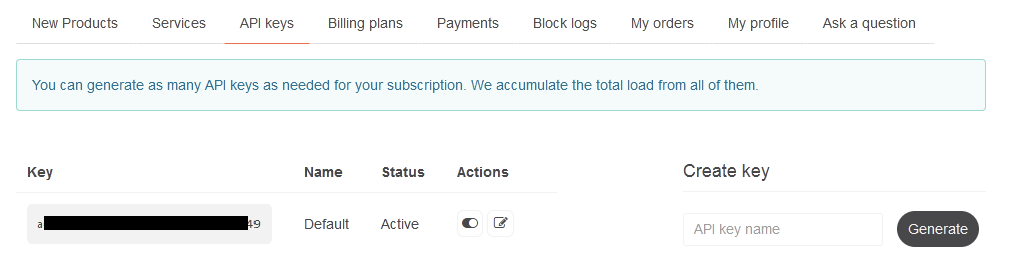
As we only need daily weather updates for a specific location, the API key for free signup is sufficient. The API key is a must for access and authentication with the OpenWeatherMap API.
API call to OpenWeatherMap API
For making an API call to get weather updates for a specific location, you need to invoke an HTTP request via HTTP URL. The API call has the following format.
https://api.openweathermap.org/data/2.5/weather?lat={lat}&lon={lon}&appid={API key}
For getting the weather updates for your location, you simply need its latitude and longitude and the API key. You can find the current weather update along with geo coordinates for your city by searching it at the following link – https://openweathermap.org/find.
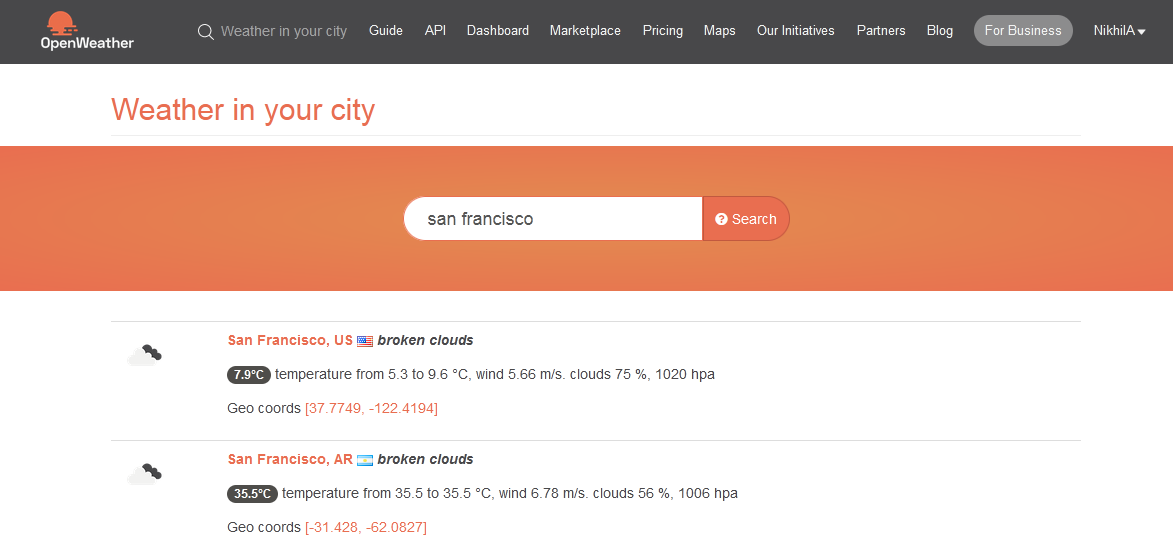
Note that the southern hemisphere is represented by negative latitudes and the western hemisphere is represented by negative longitudes. For example, the latitude and longitude of San Francisco, US is 37.7749N, 122.4194W. In the API call, the latitude will be 37.7749 but the longitude will be -122.4194. You can check the correctness of the API call by replacing the latitude, longitude, and API key with the latitude, and longitude of your location, and your API key respectively, and visiting the link on a web browser. A response will return containing JSON data representing the weather information for a given location as shown in the image below.

Reading JSON data with MicroPython
As you can see that upon making an API call for a specific location, the weather data is returned in JSON format. JSON is the universal format accepted by web APIs. In JSON, the data is represented as name/value pairs. The name and value are separated by a colon(:). The name/value pairs are separated by commas. The arrays are enclosed within square brackets ([]), while objects are enclosed with curly braces ({}). MicroPython provides a built-in JSON module to extract names and values from JSON data.
MicroPython urequests module
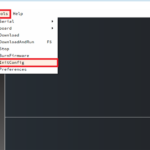
The API call to OpenWeatherMap is nothing but an HTTP request via HTTP URL. MicroPython provides urequests module to make HTTP requests online. The module may not be built-in to the MicroPython firmware loaded in the ESP board, in which case you will need to upload the module to the board separately. In uPyCraft IDE, navigate to file->New. In the code editor, paste the following source code from urequests.py.
Save the script as urequests.py and upload it to the ESP board by clicking the “Download&Run” button. Now, the urequests module is successfully loaded to the ESP board.
MicroPython Script
Delete the current code of Boot.py and copy the following script to Boot.py.
Upload the updated Boot.py to the ESP board by clicking the “DownloadAndRun” button. Remember to replace SSID and NETWORK_KEY with the SSID and network key of your own WiFi network. Also, replace the {latitude}, {longitude}, and {APIKey} with the latitude and longitude of your location and your own API key received on sign-up.
The code
The code begins with importing the necessary MicroPython modules. The urequests module is imported to make HTTP requests and UJSON module is imported to interpret JSON data. The network library is imported to connect with WiFi network.
Next, the connection with a WiFi network is set up using the given SSID and network key. The ESP board is configured in station mode and the connection with the WiFi network is initiated by calling the station.connect() method. The connectivity with the WiFi network is verified by the calling station.isconnected() method. Once, the ESP board is successfully connected to a WiFi network, the network parameters are printed to the IDE’s console by calling the station.ifconfig() method.
The HTTP URL for the API call to OpenWeatherMap API is stored in a variable “open_weather_map_url.” The HTTP GET request is initiated by calling requests.get() method. The JSON response from the API call is printed to the console. Finally, by using json().get() method, specific values accessed by their names are extracted in different variables and printed to the IDE’s console.
Result
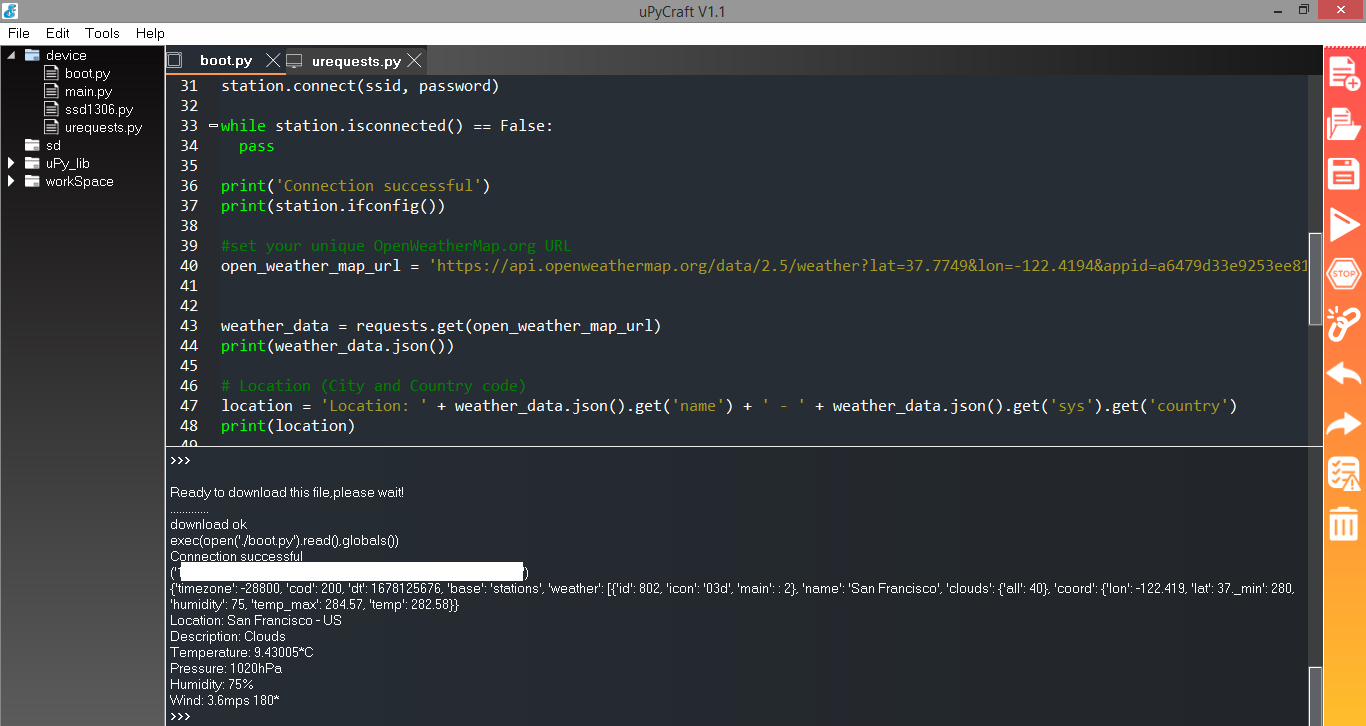
Once you upload and run the Boot.py to the ESP board, the weather update for the chosen location including temperature, pressure, humidity, and wind speed will be printed to the console as shown in the image below.
\
You may also like:


Filed Under: Electronic Projects, Python, Tutorials

Questions related to this article?
👉Ask and discuss on EDAboard.com and Electro-Tech-Online.com forums.
Tell Us What You Think!!
You must be logged in to post a comment.