An accelerometer is a device that measures proper acceleration (which is not the same as coordinate acceleration or rate of change of velocity). You can now get a DIY-able accelerometer by connecting an I2C accelerometer to your Raspberry Pi 2. Now all you need is a basic app to read this data. That’s not even the best part. The best part is, you need no background knowledge of I2C for this DIY.
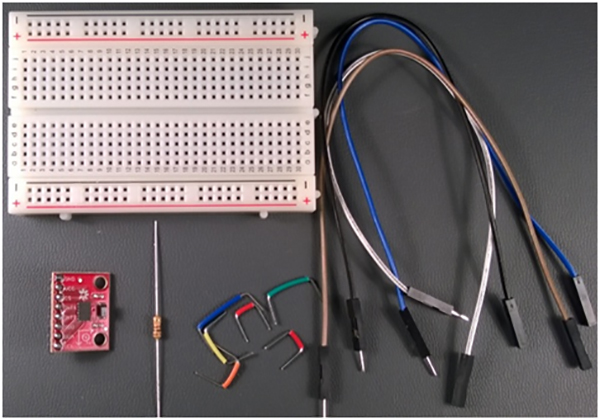
You can find the exact folder on the blog, make a copy and access it from Visual Studio. Change a few setting here and there and connect your accelerometer to your device. Here are a few components you’ll need.
· An ADXL345 accelerometer board, which you can get from Sparkfun.
· A breadboard.
· A few male-to-female connector wires
· If you’re using an alternate to Raspberry Pi 2, then that along with a resistor.

You can find diagrams and illustrations of pin connections in the blog. Once all of that is done, deploy and run the app, which you got from the blog!
This is what it will look like, when you keep the accelerometer near the ground. A few variations are because of noise and electronic disturbance.

Now, if you want to know how they did it, read the blog. It’s quite comprehensive and detailed. ‘Respect to the project’.
Filed Under: Reviews


Questions related to this article?
👉Ask and discuss on EDAboard.com and Electro-Tech-Online.com forums.
Tell Us What You Think!!
You must be logged in to post a comment.