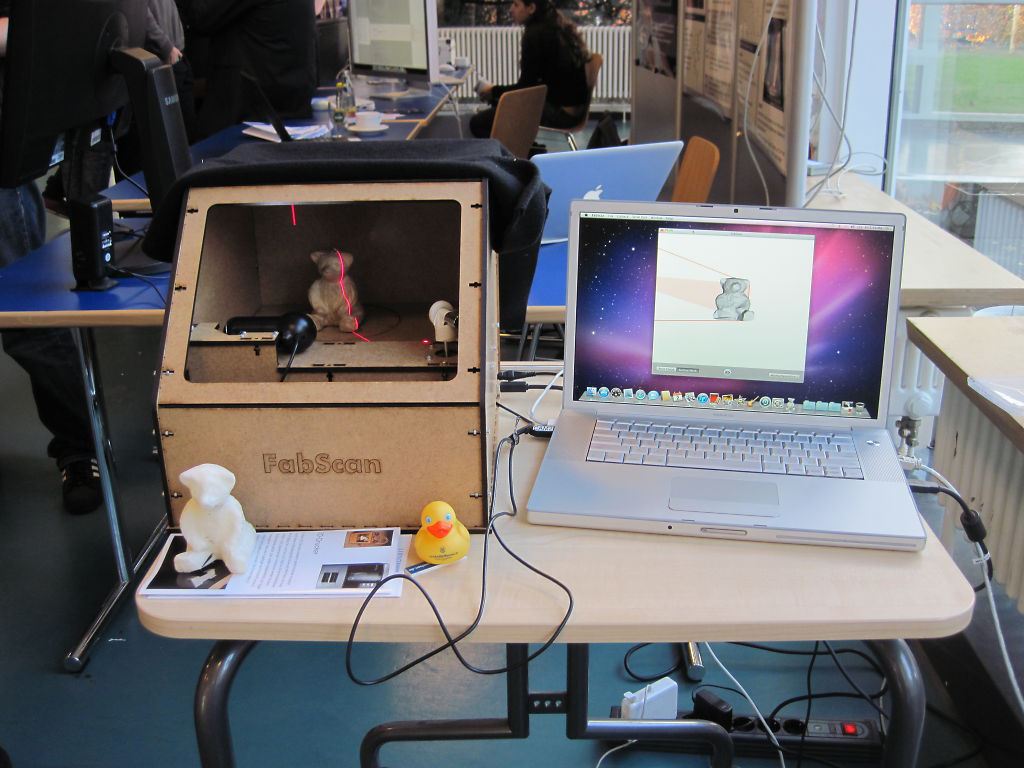
Fixing broken components cost heavy to pocket and sometimes are impossible to fix. With exception to CAD designing, which is obviously super expensive, there are not much alternative present to fix it. But now with advance in technology, we have 3D scanners and 3D printers. You will definitely fall in love with the duo, when you will know that scanning a broken component and then a taking out a 3D print can actually fix your stuffs without investing time in extensive CAD design.
Well both the technology is definitely in market but not at affordable range. It will take few more years to come down in the range before a good quality option is available. But the point is we love our components and want to rectify it. So if we could not afford it, then we can make one at home. Alex of super make something has shared a video of DIY 3D scanner packed with 3D printed components and off the shelf electronics. One of the super-fun channels for tech-lovers and a source of inspiration to build complex components in easy way.
Hardware
The best part of this project and of Alex too that it essentially consist of few off-the-shelf electronic components, with an infrared sensor acting as the main scanner. It also contains two NEMA 17stepper motors, some motor plates, a threaded rod, two guideshafts, an IR sensor, and some electronics: an Arduino Pro Micro, a power connector, a push button, an infrared sensor, an SD card, and two stepper driver boards. The point is everything is connected with male and female header pins and screw terminals

Working
A custom PCB is needed to be build. This is the biggest challenge for those who had never tried their hand in building and designing a PCB at home. Well, the tutorial for the designs are available along with the manufacturer link, for those who want to simply order it, on the internet and also on the website. Although Alex used Eagle Freeware CAD software to design it, perhaps the easiest way to develop a PCB at home.
Further Alex has designed all components in SolidWorks CAD software, for 3D printing also. To be precise, seven components are required for 3D printing and must be compatible with most desktop FDM 3D printers out there. Total printing time was about 10 hours and Alex used Makerbot 3D printer.
The next challenge is assembling all the electronics and then programming the Arduino. Ale has provided the codes which is just to be downloaded and it will slowly turn the turntable and scan the visible side of the object. Further, screwing and zipping ties is all need to be done and that is also well explained by him.
The files are found on the SD card and is accessed using MatLab. Its code is also available on the website. You can get all your data in a conveniently 3D printable STL file. This is most affordable and coolest DIY scanner which can be built at home.
Filed Under: Reviews


Questions related to this article?
👉Ask and discuss on EDAboard.com and Electro-Tech-Online.com forums.
Tell Us What You Think!!
You must be logged in to post a comment.