It is common to use different sensors with microcontrollers in embedded applications. Microcontrollers are equipped with parallel data ports and several serial data communication interfaces that allow them to interface and communicate with sensors. There are times when the data fetched from sensors need to be stored for future use. This may be just for logging sensor data or deriving high-level analytics. Many microcontrollers have built-in or on-board EEPROM to store external data, while the flash memory always remains reserved for storing the bootloader and the firmware. This EEPROM is usually a few kilobytes in size and can only store a limited amount of data.
A practical solution to this problem is storing sensor data on SD or Micro SD cards. SD and Micro SD card modules can be easily interfaced with Arduino (or any microcontroller) via the SPI interface. SD and Micro SD cards facilitate a storage capacity in gigabytes that is more than sufficient to log data from any number of sensors or any amount of data.
In this project, we will interface a Micro SD card module with Arduino and use an 8 GB Micro SD card to log data from the ADXL345 accelerometer sensor. Before continuing this project, learn to interface the ADXL345 accelerometer with Arduino. You may also be interested in working on the ADXL345 accelerometer sensor.
SD and Micro SD card modules
SD and Micro SD cards are widely used memory cards. Both are different in technology and origin. SD cards are a bit bulky in size (24 mm x 32 mm x 2.1 mm) compared to Micro SD cards. Their maximum storage capacity is limited to 2 GB. SD cards are commonly used in handheld computers, digital cameras, and baby monitors. Micro SD cards are smaller (15 mm x 11 mm x 1 mm). Their maximum storage capacity is 16 GB. Micro SD cards are commonly used in mobile phones, microcomputers, drones, dash cameras, etc.
Both SD and Micro SD card readers usually have an SPI interface for data communication with a microcontroller/microcomputer. Except that the SD card reader reads/writes an SD card and Micro SD card reader reads/writes a Micro SD card, both types of modules are interfaced with Arduino (or any other microcontroller/microcomputer) similarly, and the same library in Arduino is used to read or write from both type of modules.
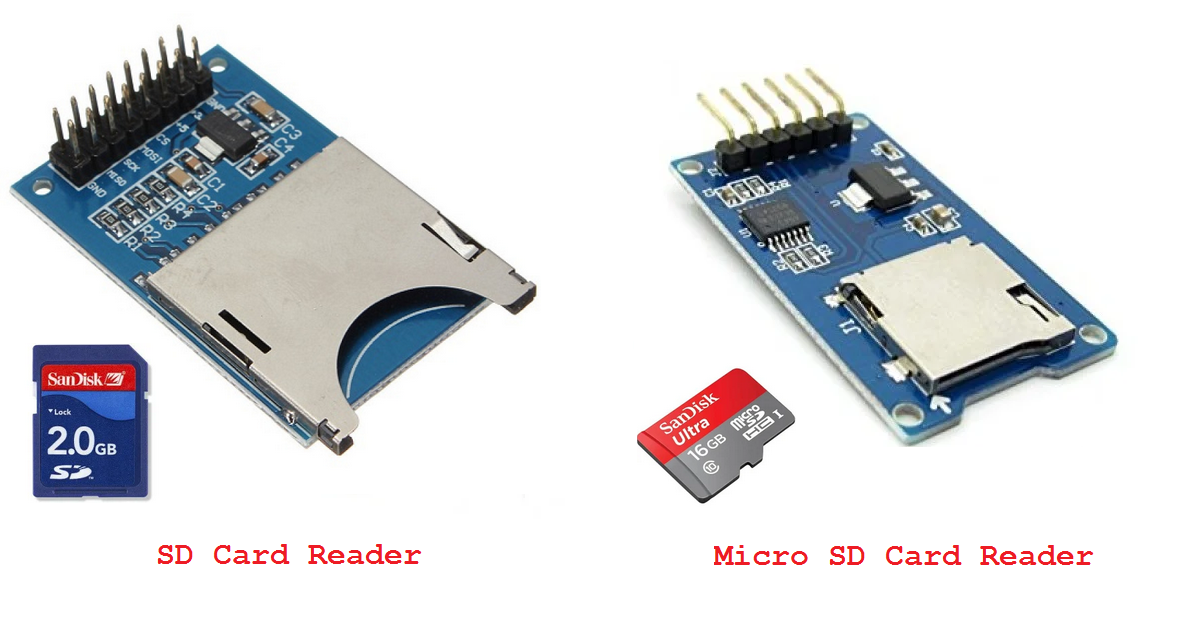
Examples of SD and Micro SD card readers for Arduino
SD library
Arduino can communicate with SD and Micro SD card readers using its built-in SD library, as both modules use the SPI interface for data communications. The library also supports FAT16 and FAT32 file systems on SD/Micro SD cards, but the file names must be in 8.3 formats. Only one period is allowed, although the filenames can include PATHs separated by forward slashes. The library provides the following methods to work with SD/Micro SD cards.
SD.begin(): This method initializes the SD/Micro SD card. It takes the pin connected to the SS pin of the reader as a parameter.
SD.exists(): This method tests the existence of a file or directory in the SD/Micro SD card. It takes the filename as a parameter.
SD.mkdir(): This method creates a directory on the SD/Micro SD card. It takes the filename, including the path, as a parameter.
SD.rmdir(): This method removes a directory from the SD/Micro SD card. It takes the filename, including the path, as a parameter.
SD.open(): This method opens a file for reading or writing. It takes two parameters filename and mode. The mode determines if the file has to be read or written. The file will open in read mode by default if the mode is not specified. If the file is opened for writing, if it does not already exist, it will be created by the specified filename and path.
SD.remove(): This method removes a file from SD/Micro SD card. It takes the filename, including the path, as a parameter.
Many methods of the built-in file class are also used while reading from or writing to SD/Micro SD cards. Some of the useful techniques of the built-in file class are as follows.
File.name(): This method returns the file name.
File.available(): This method checks if a file with given filename exists.
File.read(): This method reads the contents of the file.
File.write(): This method writes data to the file.
File.size(): This method returns the size of the file in bytes.
File.print(): This method prints data to the file.
File.println(): This method prints data to the file followed by a carriage return and newline.
File.close(): This method closes the file and ensures any data written to it is physically saved in the SD/Micro SD card.
Note that until the file.close() method is called, data written to a file is not saved. Therefore, a file must be closed after writing data to it. Otherwise, the logged data will be lost.
Interfacing SD/Micro SD card module with Arduino
The SD/Micro SD card is interfaced with Arduino via the SPI interface. The module has six pins – VCC, GND, MISO, MOSI, SCK, and CS. The SPI ports in Arduino UNO are shown in the image below.

SPI port in Arduino UNO
Note that the SS pin of the SD/Micro SD card reader should be connected to pin 10 of Arduino UNO.
Writing data to SD/Micro SD card with Arduino
Interface the SD/Micro SD card reader with Arduino UNO as described above. Writing data to SD/Micro SD card involves use of SD.begin(), SD.mkdir() (if a new directory is created for the data file), SD.open(), File.write(), File.print(), File.println(), and File.close() methods. The following sample code writes a list of websites belonging to the electronics engineering network of EEWORLDONLINE to a text file. Note that data is written to the SD/Micro SD card in the setup() function because it must be written only once in this case. If it had been sensor data with a time stamp, the writing to SD/Micro SD card would have to be done in the loop() function. Also, note that the file class only needs instantiating a file object.
The result of the above sample code is shown below.

Example of writing data to SD card with Arduino
Reading data from SD/Micro SD card with Arduino
Reading data from SD/Micro SD card involves use of SD.begin(), SD.open(), File.available(), and File.read() methods. Note that File.read() method reads a single line at a time. It needs to be repeated either until reading the desired number of lines or until the file ends.
The result of the above sample code is shown below.

Example of reading data from SD card with Arduino
Logging sensor data in SD card with Arduino
Now equipped with the knowledge of logging data into SD/Micro SD card using a card reader, we can now log sensor data for future use. Let us interface the ADXL345 accelerometer sensor with Arduino and log ten consecutive acceleration readings on the x, y, and z-axis at 500 milliseconds.
Components required
- Arduino UNO x1
- SD/Micro SD card reader x1
- SD/Micro SD card x1
- ADXL345 accelerometer sensor x1
- Connecting wires/Jumper wires
- Breadboard
Circuit connections
The SD or Micro SD card reader will interface with Arduino via SPI port. The circuit connections between the SD/Micro SD card reader and Arduino are summarized below.
| Arduino UNO | SD/MicroSD Card Reader |
| 5V out | VCC |
| GND | GND |
| 13 | SCK |
| 12 | MISO |
| 11 | MOSI |
| 10 | SS |
The ADXL345 accelerometer is interfaced with Arduino via an I2C port. The circuit connections between ADXL345 and Arduino are shown in the image below.

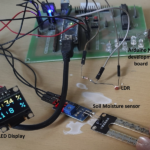
The final circuit looks like as shown in the image below.
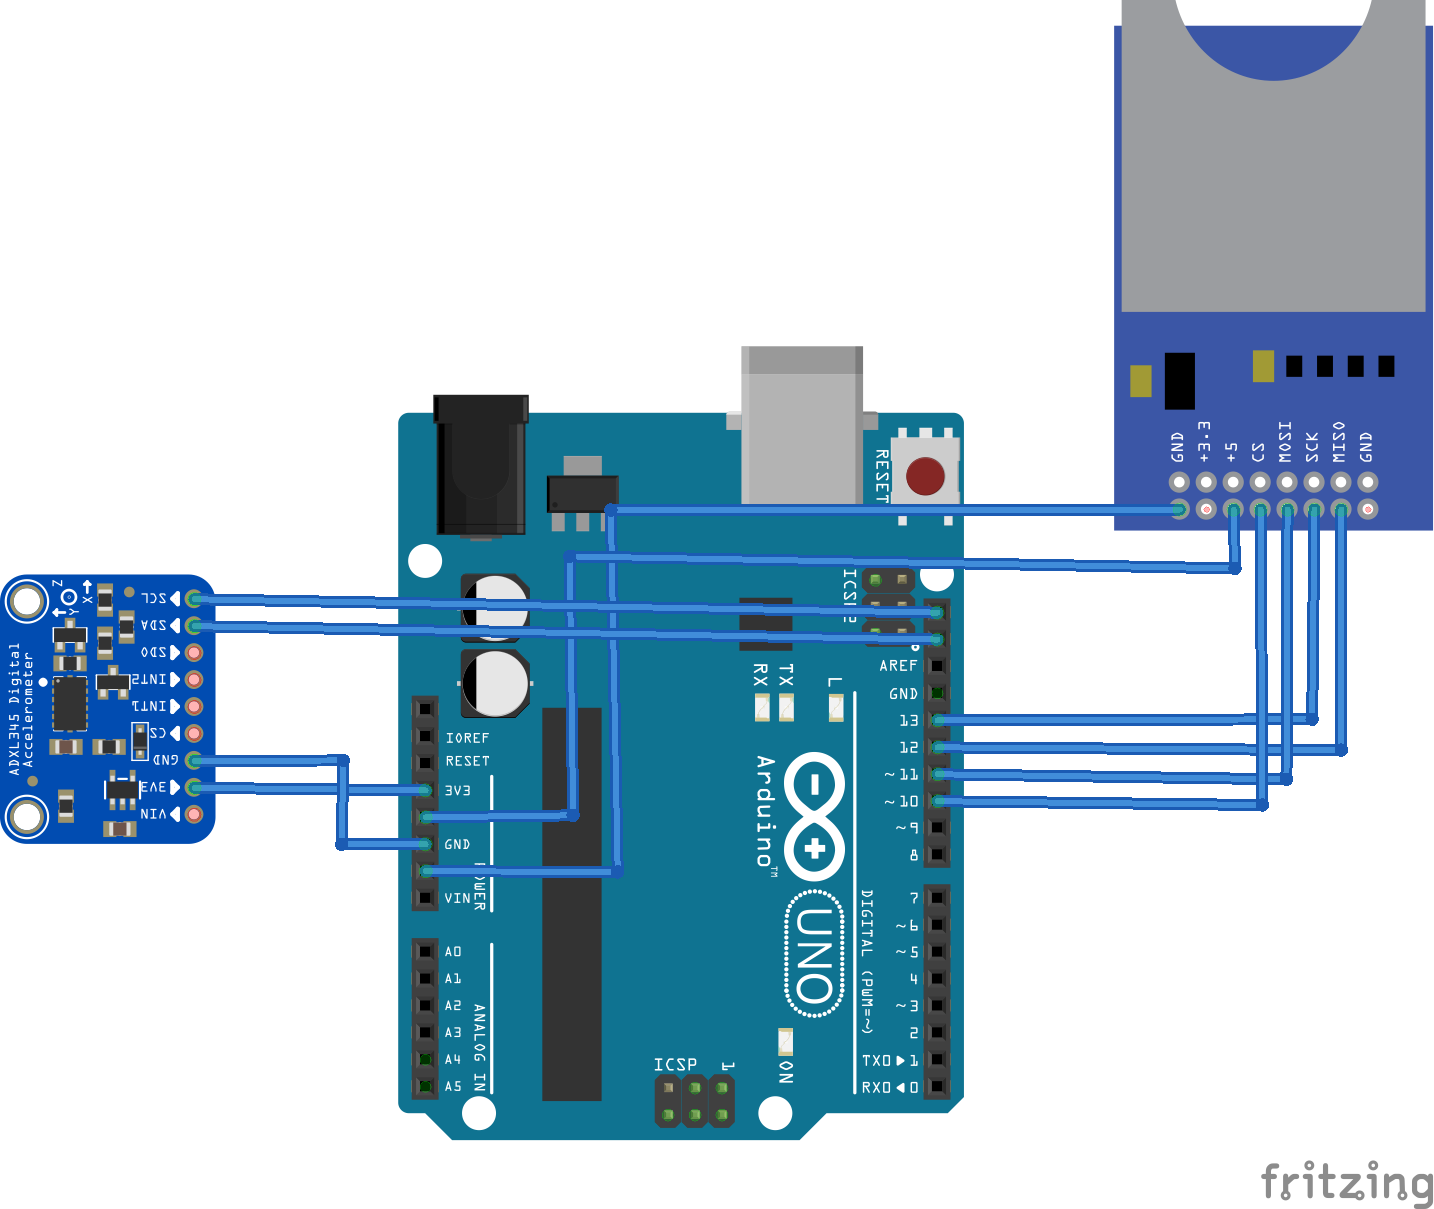
Circuit diagram for logging sensor data to SD or Micro SD card with Arduino
Arduino Sketch
How it works
Arduino senses the acceleration along the x, y, and z-axis with the help of the ADXL345 accelerometer sensor. The code runs once and reads through the sensor ten times at 500-millisecond intervals. The readings are written to a text file on a Micro SD card and saved.
Result
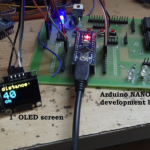
The following video shows Arduino logging ten consecutive readings from ADXL345 to an 8GB Micro SD card.
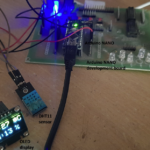
The following video shows the verification of data logged in the micro SD card.
You may also like:


Filed Under: Electronic Projects, Featured

Questions related to this article?
👉Ask and discuss on Electro-Tech-Online.com and EDAboard.com forums.
Tell Us What You Think!!
You must be logged in to post a comment.