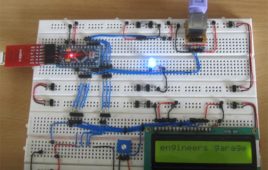
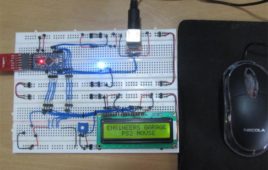
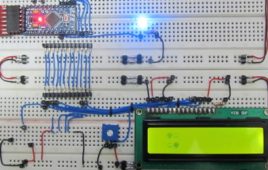
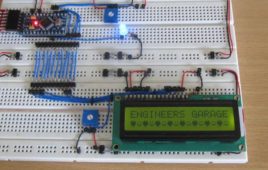
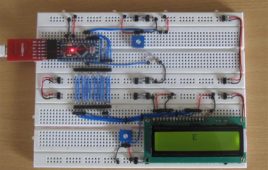
Liquid Crystal Display is made use in various kinds of devices from small display screen in calculator to large screens in televisions. There are lots of advantages in using the LCD displays in systems like power efficiency, thin size, low cost etc. LCD based small display modules are normally found in all kinds of embedded devices.The LCD even though looks simple, but it is actually difficult to make it work. The LCD works with voltage pulses only and that with precise timing and voltage levels. Hence special kinds of LCD drivers are developed to drive the LCD. Two or more of this kind of driver ICs together with the LCD screen forms LCD modules which are normally found in embedded systems.
How To Create Custom Characters On LCD Using Arduino- (Part 5/49)
The LCD module is the most common output unit in a microcontroller board. It is very effective since it can display messages, values, clock etc. Special kinds of LCD drivers are used to drive the LCD. Two or more of this kind of driver ICs together with the LCD screen forms LCD modules found in embedded systems. The characters displayed in the LCD modules are actually stored in the internal memory locations of those controllers. They are stored in such a way that they exactly resemble the ASCII table. Whenever the microcontrollers send an ASCII value the LCD controllers displays the ASCII character which has been stored corresponding to that value.The LCD modules can display not only ASCII characters but custom characters also.
How to display sensor values on a TFT LCD using Arduino: Part II
In Part I of this series, we demonstrated how to display analog sensor data (value), such as POT or LM35, on a TFT LCD. A TFT is a thin-film transistor display (typically, a television screen or computer monitor) that’s of much higher quality than a regular LCD display. In this article, we’ll explain how to display…
Traffic Surveillance System using MATLAB and Arduino
In present times increasing Traffic is adding to the big woes of developing cities. The main roads are packed with vehicular traffic on each and every road or a traffic signal (Intersection Points). One comes across the common problem of traffic jams on almost all Traffic Junctions which is even critical if you go to big cities. A lot of time, energies besides precious fuel is wasted just because of these Traffic Jams on the roads.To solve this problem Traffic Cameras are used over Traffic Intersection points. Traffic Cameras capture the image of vehicles in traffic and sends to MATLAB. Here in this project Traffic Surveillance System is demonstrated by way of how the traffic could be controlled over traffic intersection points from the Traffic Control Room. This is a very effective system for Traffic Surveillance.
How to generate and display self made Custom characters on 16×2 lcd
This tutorial is about making/building your own characters/special images and then displaying them on character 16×2 lcd. Generating custom characters or special character images and displaying on lcds of any sizes (16×1,16×2,8×1,8×2,20×1,20×2,40×1,40×2 etc) is not a very hard task. One must go through the internal structure of lcd control set in order to know how…
Operating Daily Life Gadgets using Voice Recognition System and Embedded Controllers
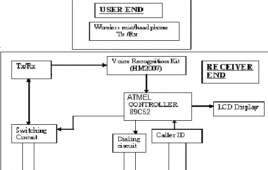
Introduction 1.1 GENERAL This chapter deals with the objective and unique features of the project and the organisation of the report. 1.2 OBJECTIVE The objective of the project work is to build an aid for physically challenged people to enable them operate normal daily life gadgets easily and conveniently using a voice recognition…
Timer Operated Relay with Digital Display
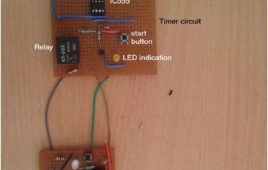
The circuit presented here operates a relay for Fixed Timer Interval. So the device or machine connected with relay operates for same time. The device once switched ON, automatically switches OFF after Fixed (set) Time Interval when relay switches OFF. The Time Interval can be varied and it is displayed on 7 Segment Display. This kind of circuits can be used in many applications where it is required to operate any device or machine for Fixed Time Interval.
Implementing DENcryptor for Secure Transaction Using Arduino
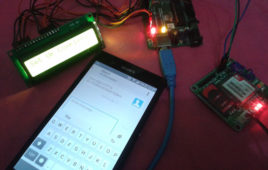
Most of us today do our shopping online and we pay for all the merchandise and servicesusing online or mobile banking, but to complete thetransaction one requires OTP (One Time Password)from the bank providing online banking. At the point of convenience we forget that the SMS containing the OTP is been routed through the Service Providers exposing the confidential data to an unauthorised person (The third party at the service provider company).The same thing happens when certain amount is debited or credited to your account and the details of the last transaction with current balance information will be sent to you through SMS.
Variable Power Supply with LCD
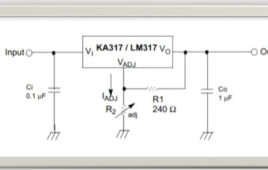
Are you an electronic hobbyist? Then an adjustable power supply is a must for your various needs. This project explains how to make a LM317 based adjustable power supply unit with a digital display
GPS and GSM based Vehicle Tracking System Using Arduino
This circuit is designed for tracking the location of vehicles. Most oftracking systems are made by using GPS. This is very simple and cheap. Tracking systems are mostly used by fleet operators for tracking a vehicle location, routing and others. This is a very good method for preventing our vehicles from stolen. This tracking system sends us the geographical coordinates and by using these coordinates we can track our vehicle position on electronic maps using internet. By using these tacking systems we can share real time information about transportations. And also can be share real time information or position of trains and buses with passengers. Means passengers can see the real time of arriving busses or trains at the platforms on LCD or on Mobiles.
How To Make Arduino As Standalone GPS Receiver With 16×2 LCD- (Part 28/49)
The AVR microcontroller boards which are provided with all the basic circuitry for the operation of the microcontroller which has been flashed with the Arduino boot-loader are called Arduino boards. The Arduino board has all the required circuitary to get the built-in AVR microcontroller running. When it comes to programming the Arduino board anyone who have basic knowledge of c programming can quickly get started with the Arduino IDE. Hence the Arduino forms an easy prototyping platform for both beginners and experts.A microcontroller can communicate with the user by several means including LED display, sound generation, using the serial communication etc. The most commonly found output device in a microcontroller board is an LCD display module.
How To Connect a Keyboard With 16×2 LCD Using Arduino- (Part 41/49)
Any kind of computing system has basically three parts namely input unit, processing unit and output unit. In case of a Personal Computer the standard input units are the mouse and the keyboard and the output units is the LCD or CRT Monitor. The input and the outputs are controlled by the Central Processing Unit (CPU) which has a powerful processor inside it. When it comes to small microcontroller based system having less processing power most of them still can interface the standard input devices of a PC with them due to their simplicity in interfacing method. As far as the output is concerned the most commonly used are small LCD modules like monochrome 16*2, graphical or small sized color LCD display screens.This particular project discusses method of interfacing a standard PS2 keyboard with the Arduino board and display the keys pressed in a 16*2 LCD screen.
How To Use PS2 Mouse To Move A Character In LCD- (Part 39/49)
The PS2 mouse is a device which can communicate with a host device using the PS2 protocol. It can be connected to a host device using the 6 pin mini DIN connector. The mouse will continuously giveoutput which can be decoded to get the movement in the X-Y plane and also the status of the buttons on the mouse. The PS2 protocol is a simple two wire synchronous protocol which makes it possible for the simple microcontroller board to interface the standard PS2 mouse or keyboard with it.The data read from the mouse can be decoded to get the amount of change in position of the mouse with respect to the position at the previous read. This data is normally used in PCs to move a cursor in the screen. This particular project also does a similar kind of demonstration in which a smiley is moved in a 16*2 LCD corresponding to the movement of a PS2 mouse both connected to an Arduino board.
How To Display Random Smiley On LCD Using Arduino- (Part 7/49)
There are varieties of electronic display system display systems in this world from simple LED display to high end laser display systems. Most of them are a using some predefined pattern of display which is then repeated again and again. There is also another kind of display systems which use a random pattern of display and hence differ from other kind in terms of working and attractiveness.This particular project explains how to display smileys in a 16*2 LCD in a random manner with the help of an Arduino board. The Arduino is referred to as an easy prototyping platform which has been popular among both hobbyist and experts and widely used in industries as well. Any AVR microcontroller based board which follows the standard Arduino schematic and is flashed with the Arduino bootloader can be called an Arduino board. All the Arduino boards are compatible with the Arduino IDE which helps to compile the code and program the Arduino boards.
How To Create Running Sine Wave Display In LCD Using Arduino- (Part 16/49)
Most of the microcontrollers have a built-in ADC module which helps them in reading analog voltage inputs. This feature makes a digital device like microcontroller to be used in analog sensor applications. The microcontroller can communicate the sensed value with other devices with the help of led indications, sound generation or using the communication ports. Among all the output devices the most common and the most effective is the simple LCD module. The LCD module can be made to display letters, numbers, sensor values, clocks etc. They can be also configured as scrolling display also. The LCD module has separate memory where the user can store custom characters like smileys, logos etc. which can then be displayed on the LCD. The LCD display becomes most effective when the microcontroller is coded in such a way that it can display animations on the LCD module.
How To Create Animation On 16×2 LCD Using Arduino- (Part 9/49)
A microcontroller can communicate with the user by several means including LED display, sound generation, using the serial communication etc. The most commonly found output device in a microcontroller board is an LCD display module. The LCD module makes the system stand-alone since the systems don’t have to rely on an external PC where it can display the data send by using serial communication ports. There are basically two kinds of LCD modules, character LCD modules and graphical LCD modules. The graphical LCD modules can display graphics easily, but it doesn’t have built ASCII characters to easily display text. The character LCD modules on the other hand have in-built storage of ASCII characters so that the microcontroller can easily send ASCII values to the module to display the corresponding character.
How To Display Smileys On LCD Using Arduino
Liquid Crystal Display (LCD) is made use in various kinds of devices from small display screen in calculator to large screens in televisions. In case of a microcontroller based system the LCD is the most effective output device. Special kind of Liquid Crystal drivers are used with the commonly found LCD modules in microcontroller systems.The LCD module is very effective since it can display messages, values, clock etc. The LCD modules can display not only ASCII characters but custom characters also. The user can store the pixel array corresponding to the custom character in an LCD module. The stored custom character can be made to display by sending the corresponding value to the LCD module. The custom characters are used for the dynamic display in an LCD board.
How To Make Dynamic Sensor Display On LCD Using Arduino- (Part 15/49)
Microcontroller based devices are widely used in different kind of sensing applications. Even though the microcontrollers are purely digital devices which work on logic0 and logic1 voltages they can read analog voltages as well. Most of the microcontrollers have built-in Analog to Digital Converter (ADC) modules which helps them in reading analog voltage inputs.The microcontroller based devices have several means by which it can communicate the sensed value with the user. It can use LED arrays, it can vary the intensity of a sound, and it can even communicate with a PC using serial communication protocol. But the most effective and commonly used method is to use dynamic display on an LCD connected with in the system.The LCD module is the most common output unit in a microcontroller board. It is very effective since it can display messages, values, clock etc. Special kinds of LCD drivers are used to drive the LCD.
How To Make LCD Scrolling Display Using Arduino- (Part 8/49)
The scrolling display boards are the most attractive among all kind of display boards. They are widely used in advertisements, used in public transport vehicles, used as information boards in railway station, airport etc. They are commonly made of LEDs or LCD screen and are usually connected to a computer or a simple microcontroller which can send the data to the screen. The microcontroller can send data to the screen using its serial port. The data could be saved in the microcontroller itself or it is received from a PC. The serial communication port is the one of the most effective communication method available with a microcontroller. The serial port of the microcontroller provides the easiest way by which the user PC and the microcontroller can write their data in the same medium and both can read each other’s data.
How To Connect PC With 16×2 LCD Using Arduino- (Part 13/49)
The serial port of the microcontroller provides the easiest way by which the user and the microcontroller can write their data in the same medium and both can read each other’s data. The LCD module makes an embedded system completely independent with which the system can take analog or digital input on its input pins and display the corresponding output in its own screen along with generating other kind of outputs.The serial communication port is one of the communication medium available in almost all microcontrollers. It is the most effective communication method available with a microcontroller. The serial port of the microcontroller provides the easiest way by which the user and the microcontroller can write their data in the same medium and both can read each other’s data.

